My instruments are purely and faithfully hand built down to the last detail. The most important work steps are described below to demonstrate how an instrument evolves.
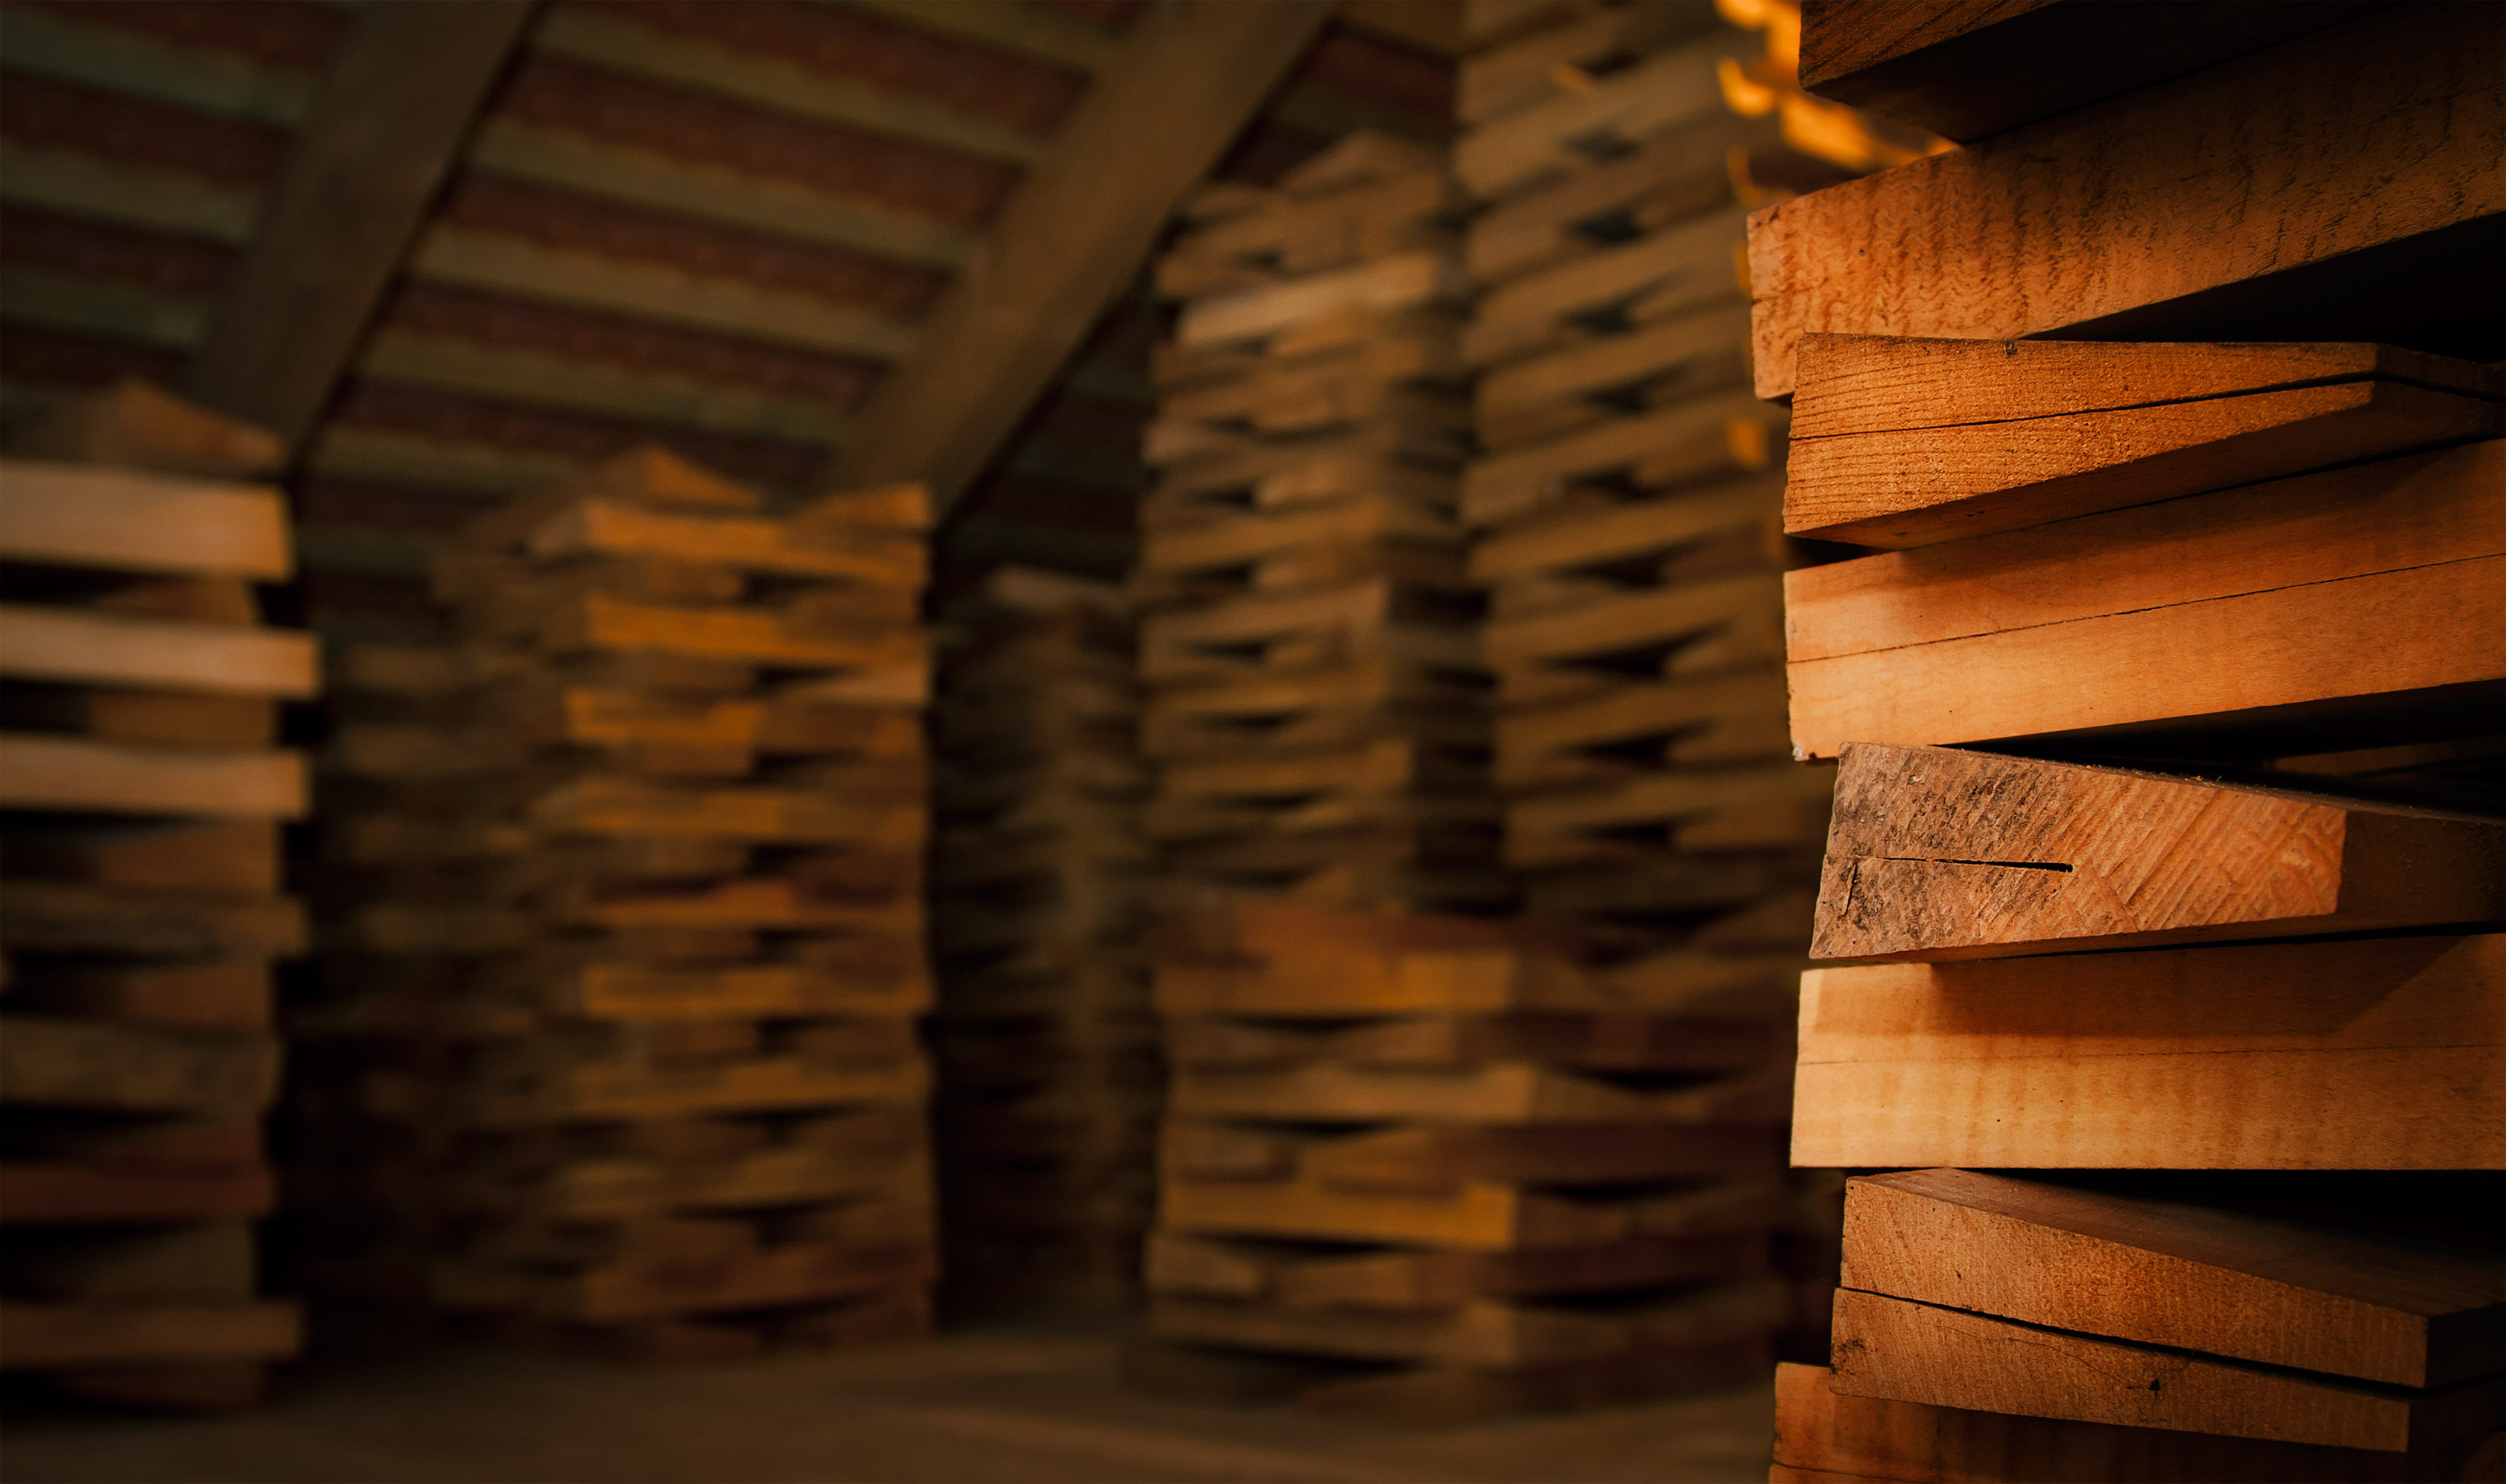
choosing the tonewood
It all starts with the choice of tonewood
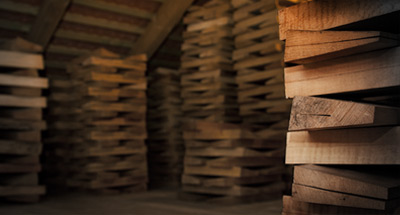
To decide which piece of wood is best suited in terms of sound I tap it at specific points. I only use tonewood of the best quality that has seasoned for several decades. The soundboard is made from the finest mountain spruce, while the neck, back, and ribs are constructed from sycamore maple.
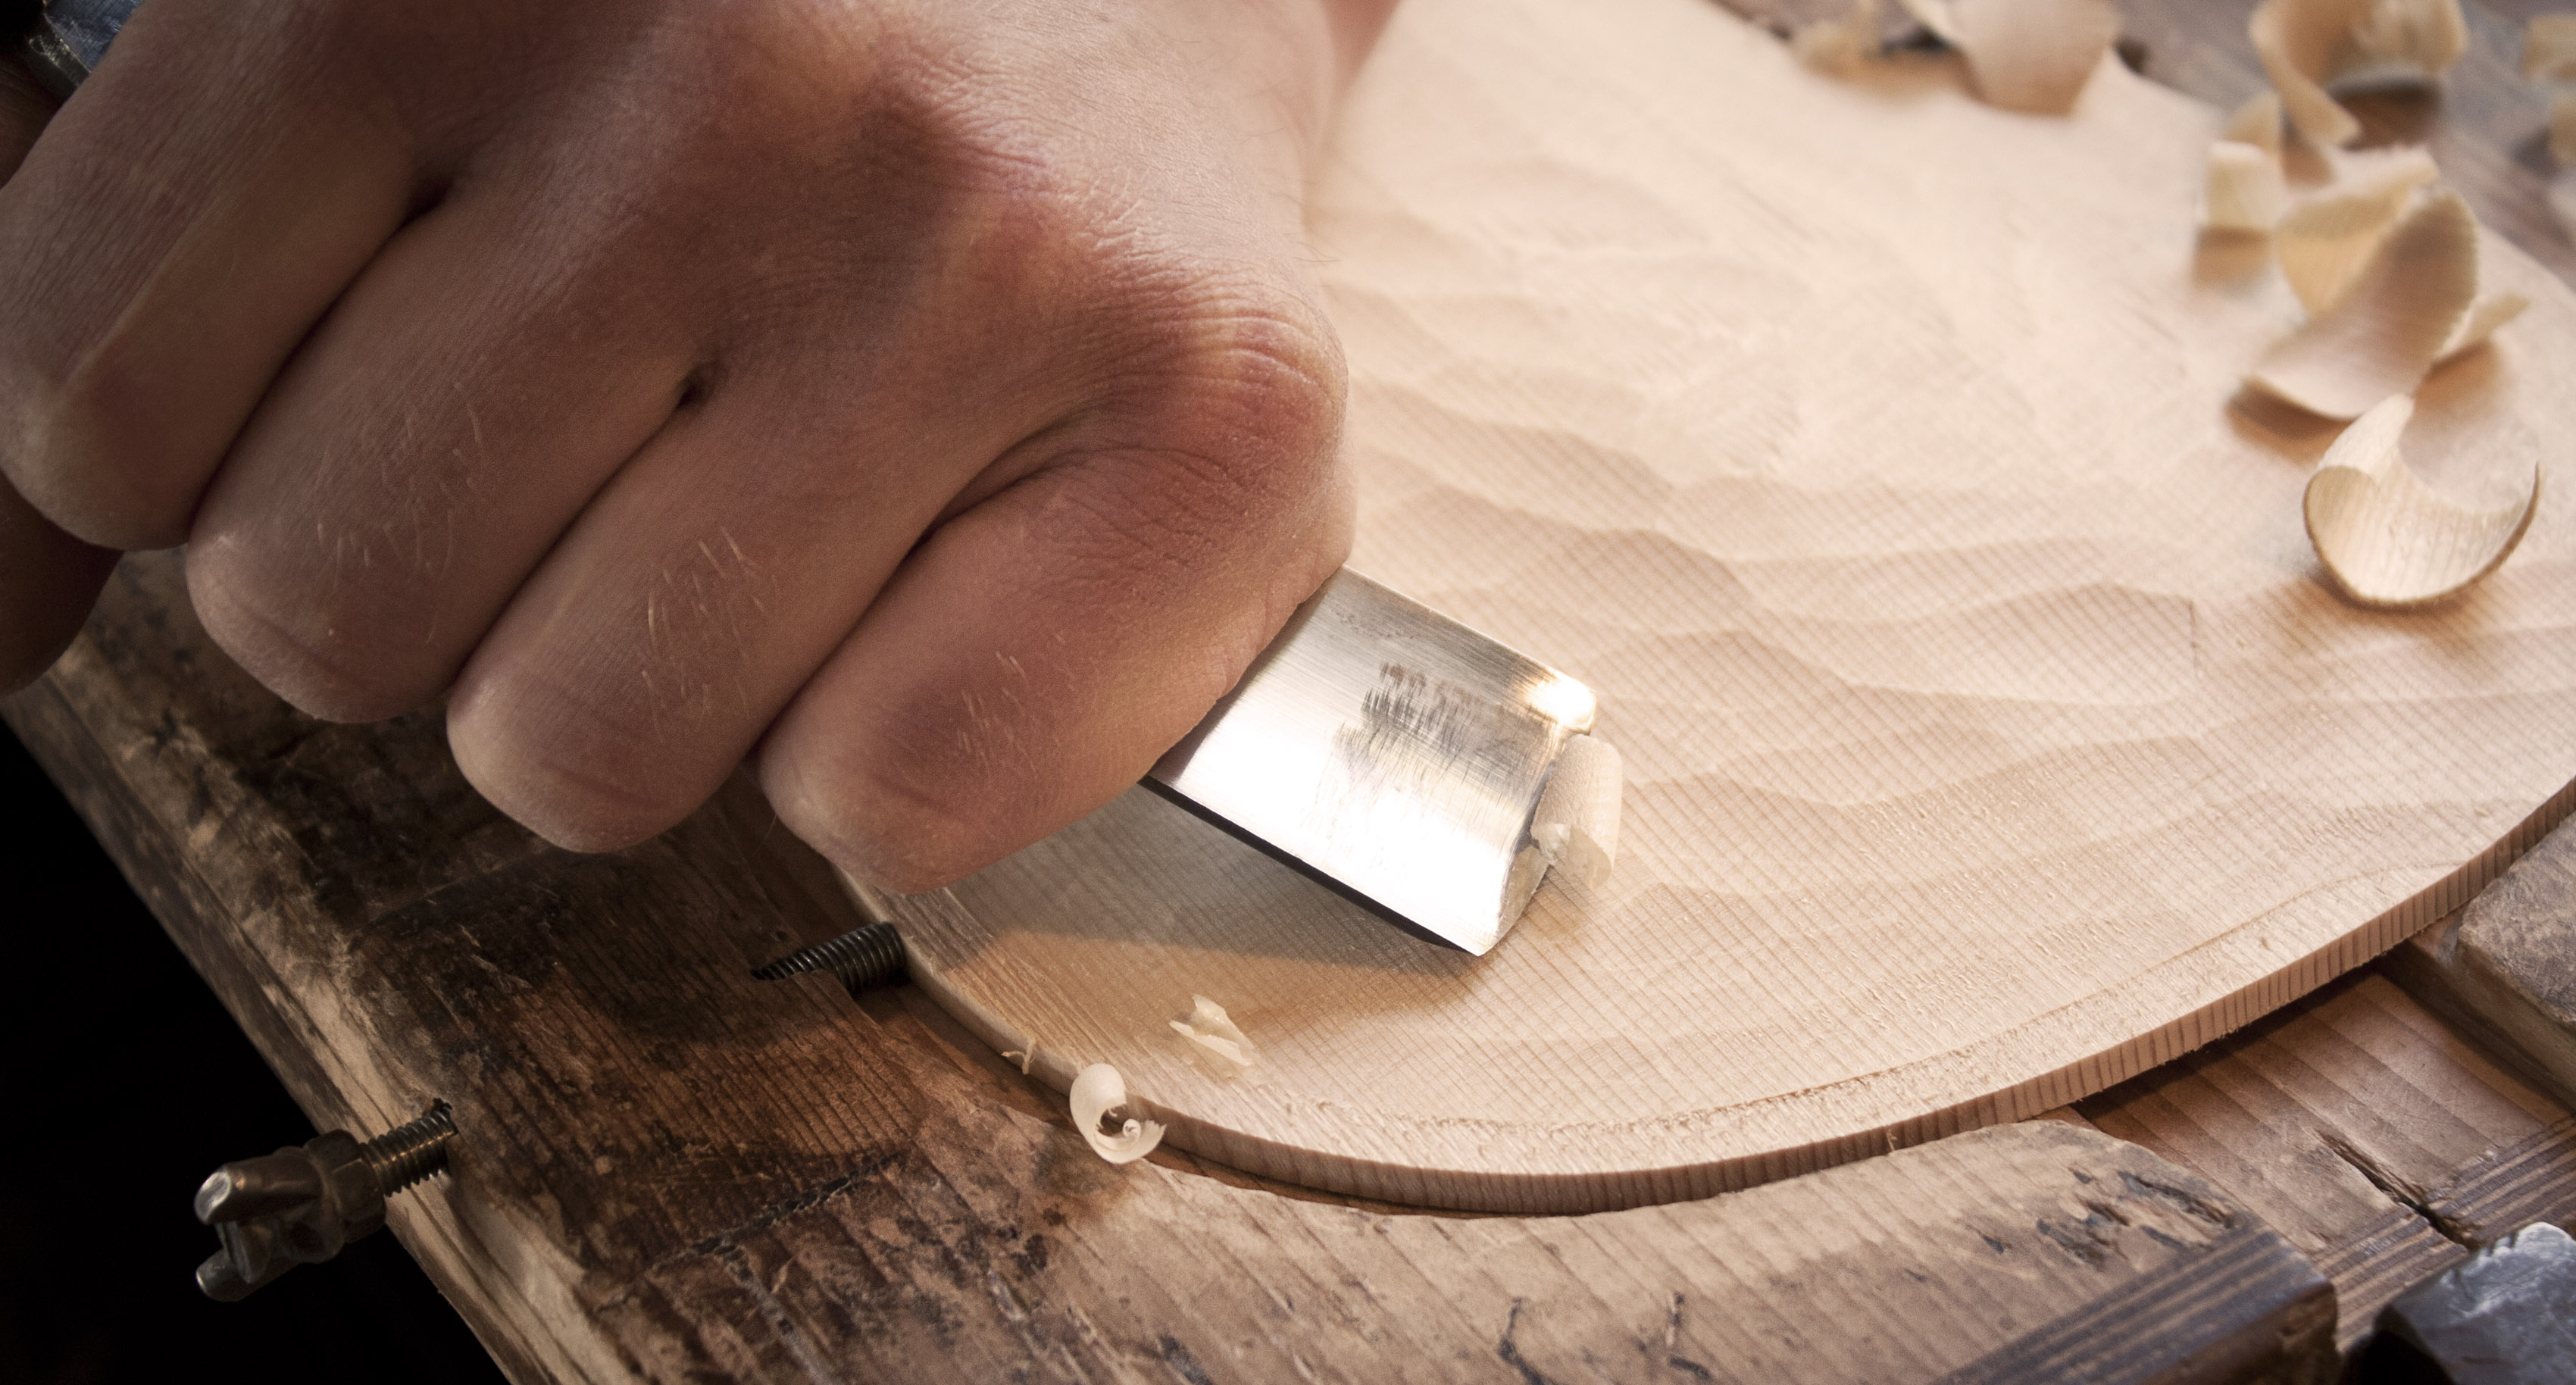
creating the arching
Shaping the back and top plates
 Shaping the soundboard arching
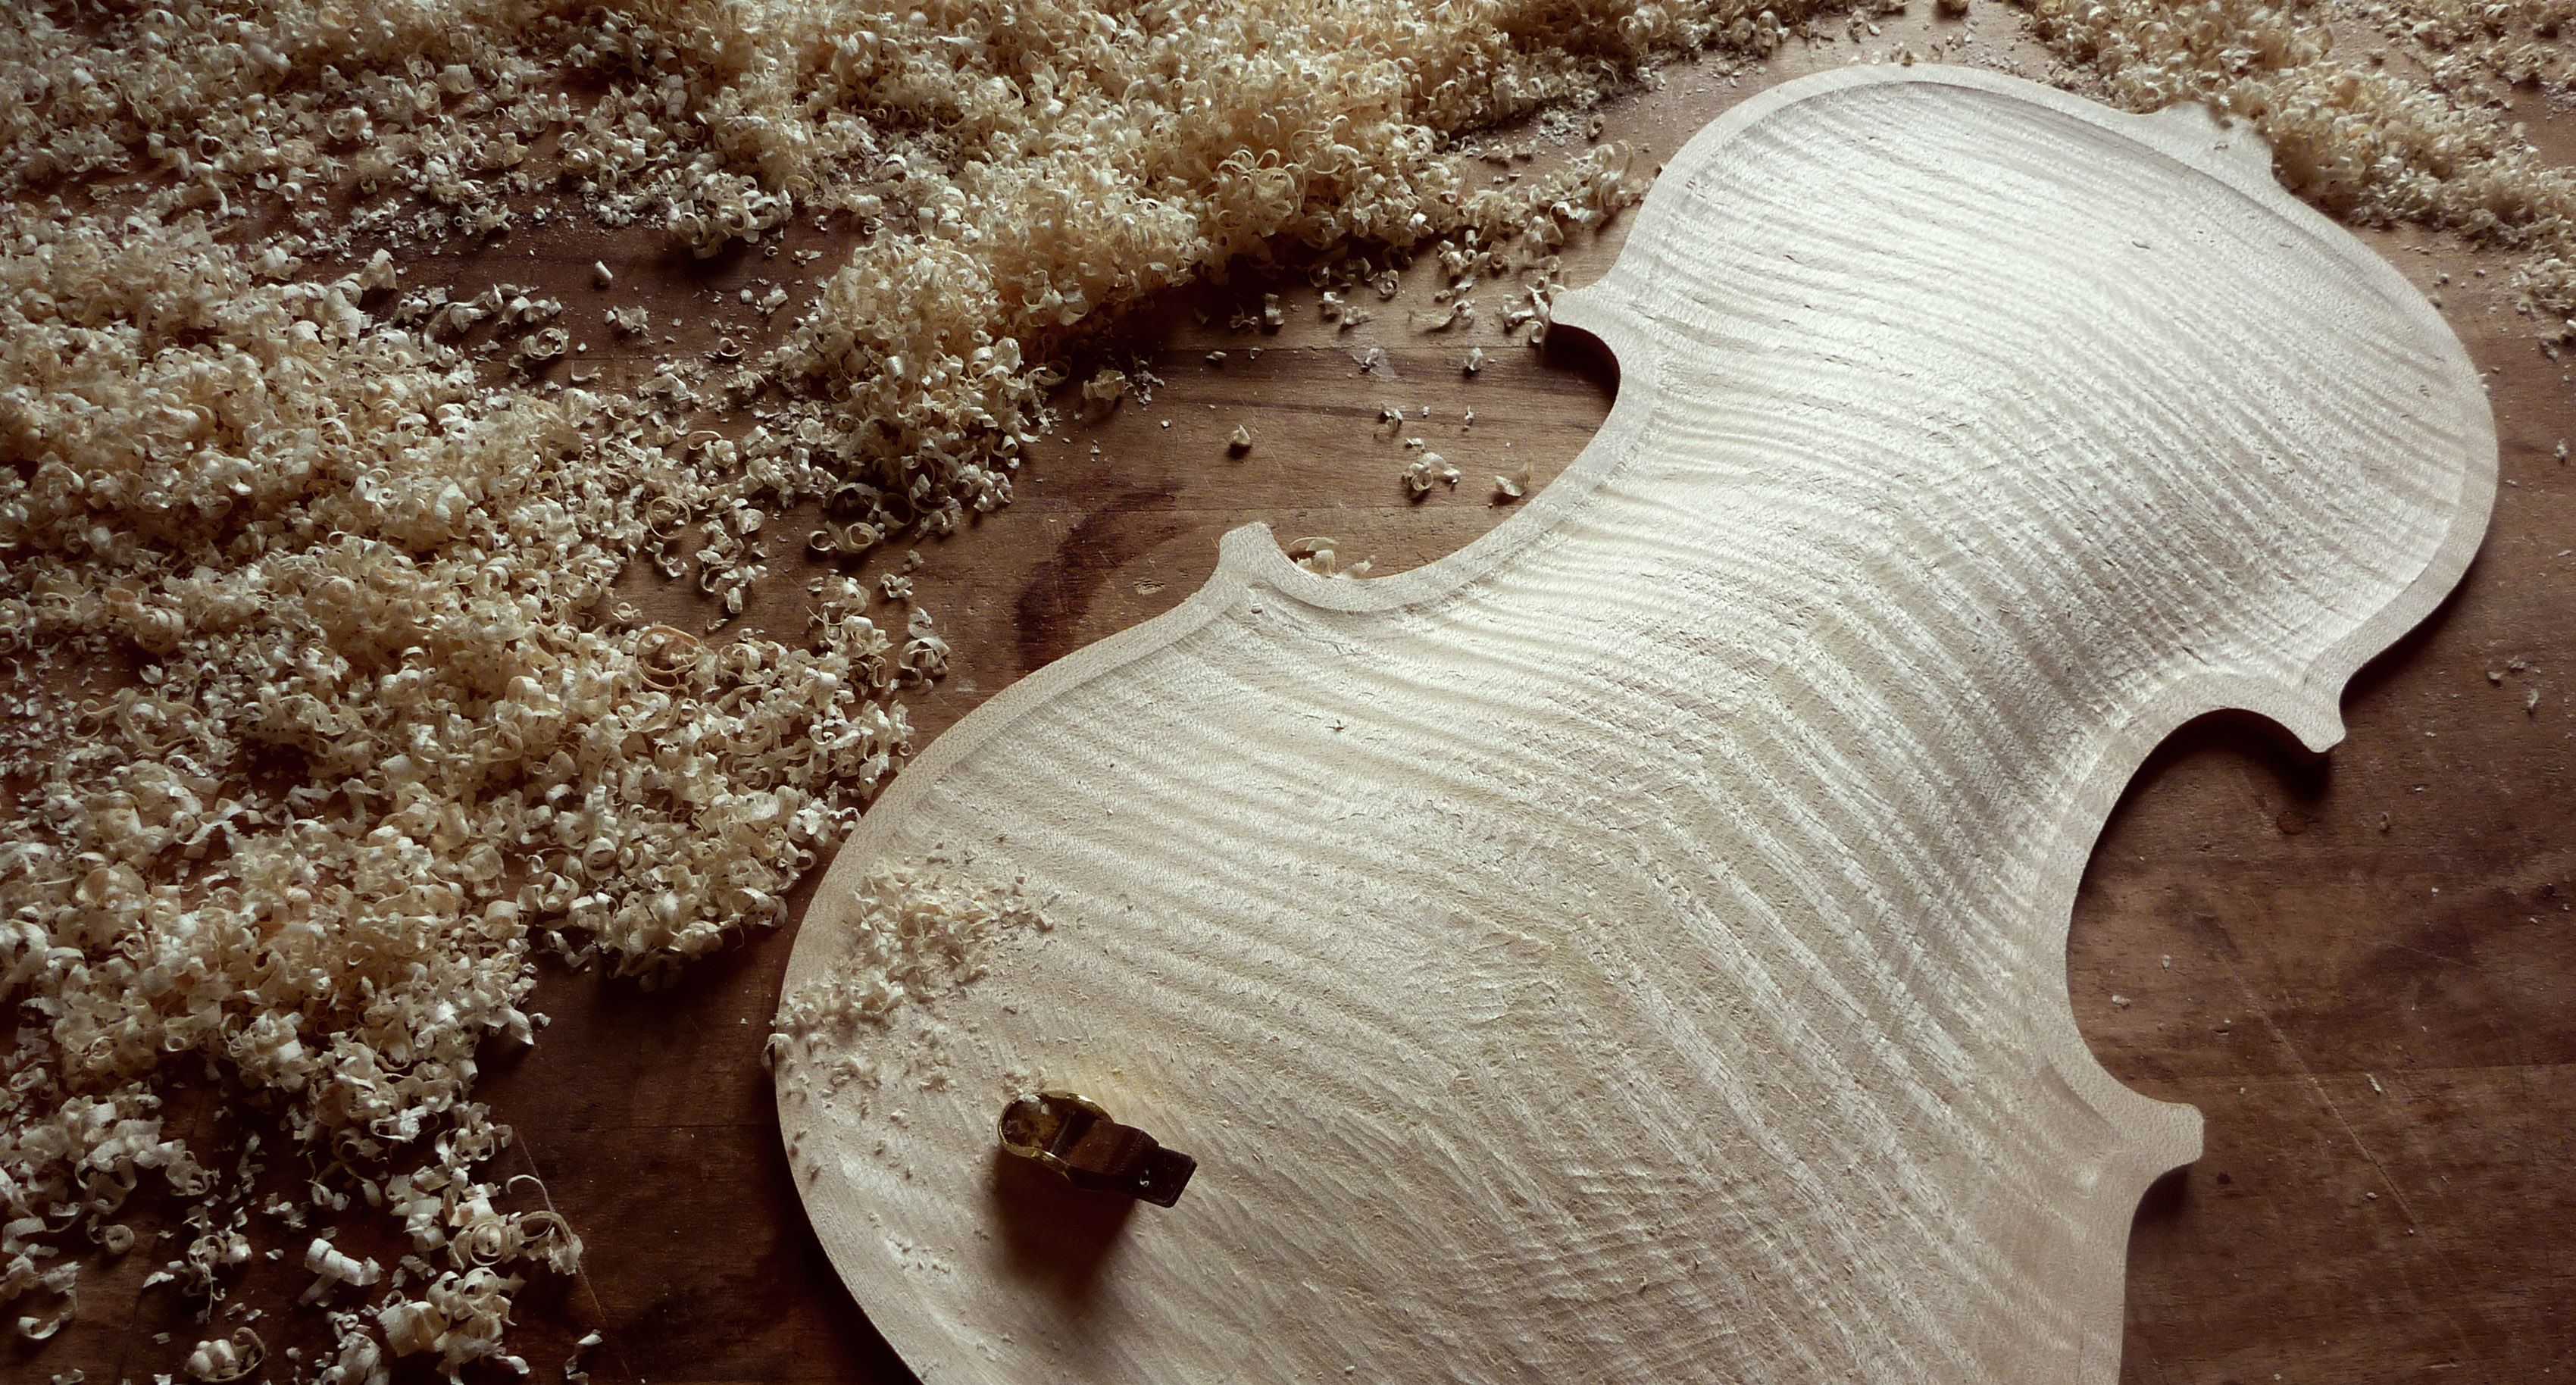
 Shaped soundboard arching
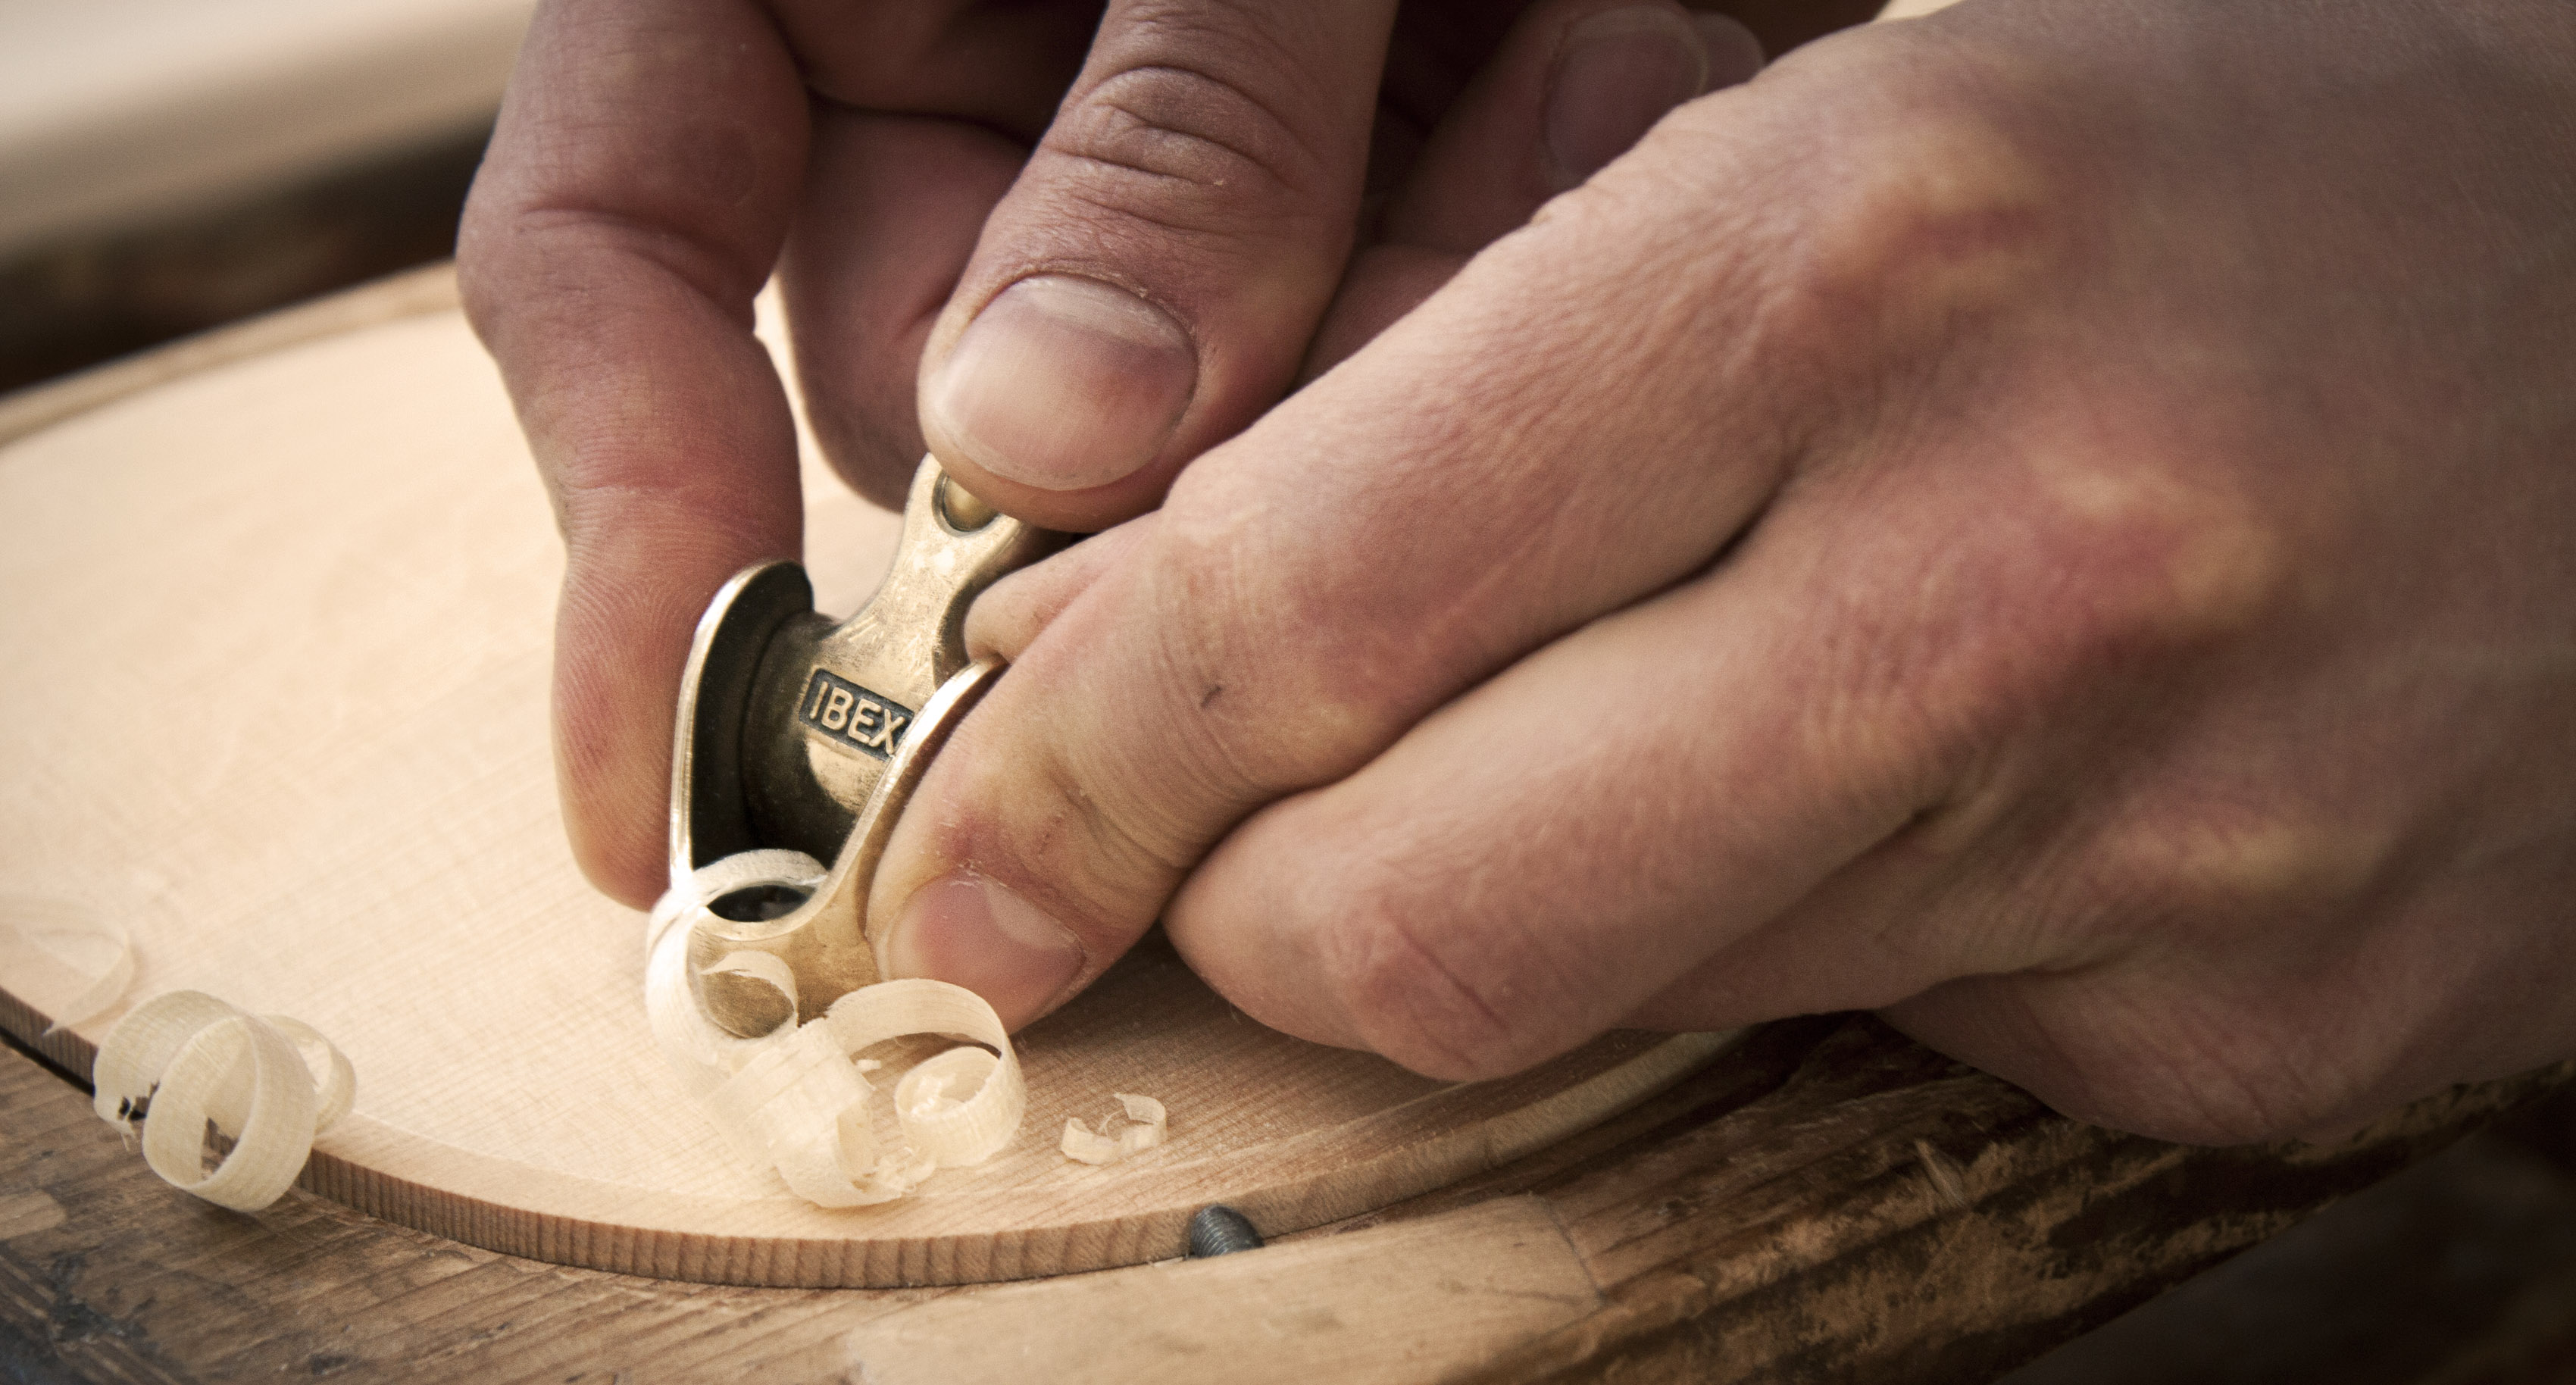
 Roughly planing the soundboard arching
 Finely planing the arching
First of all, the arching is roughly cut with a chisel, then planed and burnished.
The way the arching is shaped is important as this determines the volume, sound, and responsiveness of the instrument.
cutting, bending and
gluing the ribs
Creating the resonance box
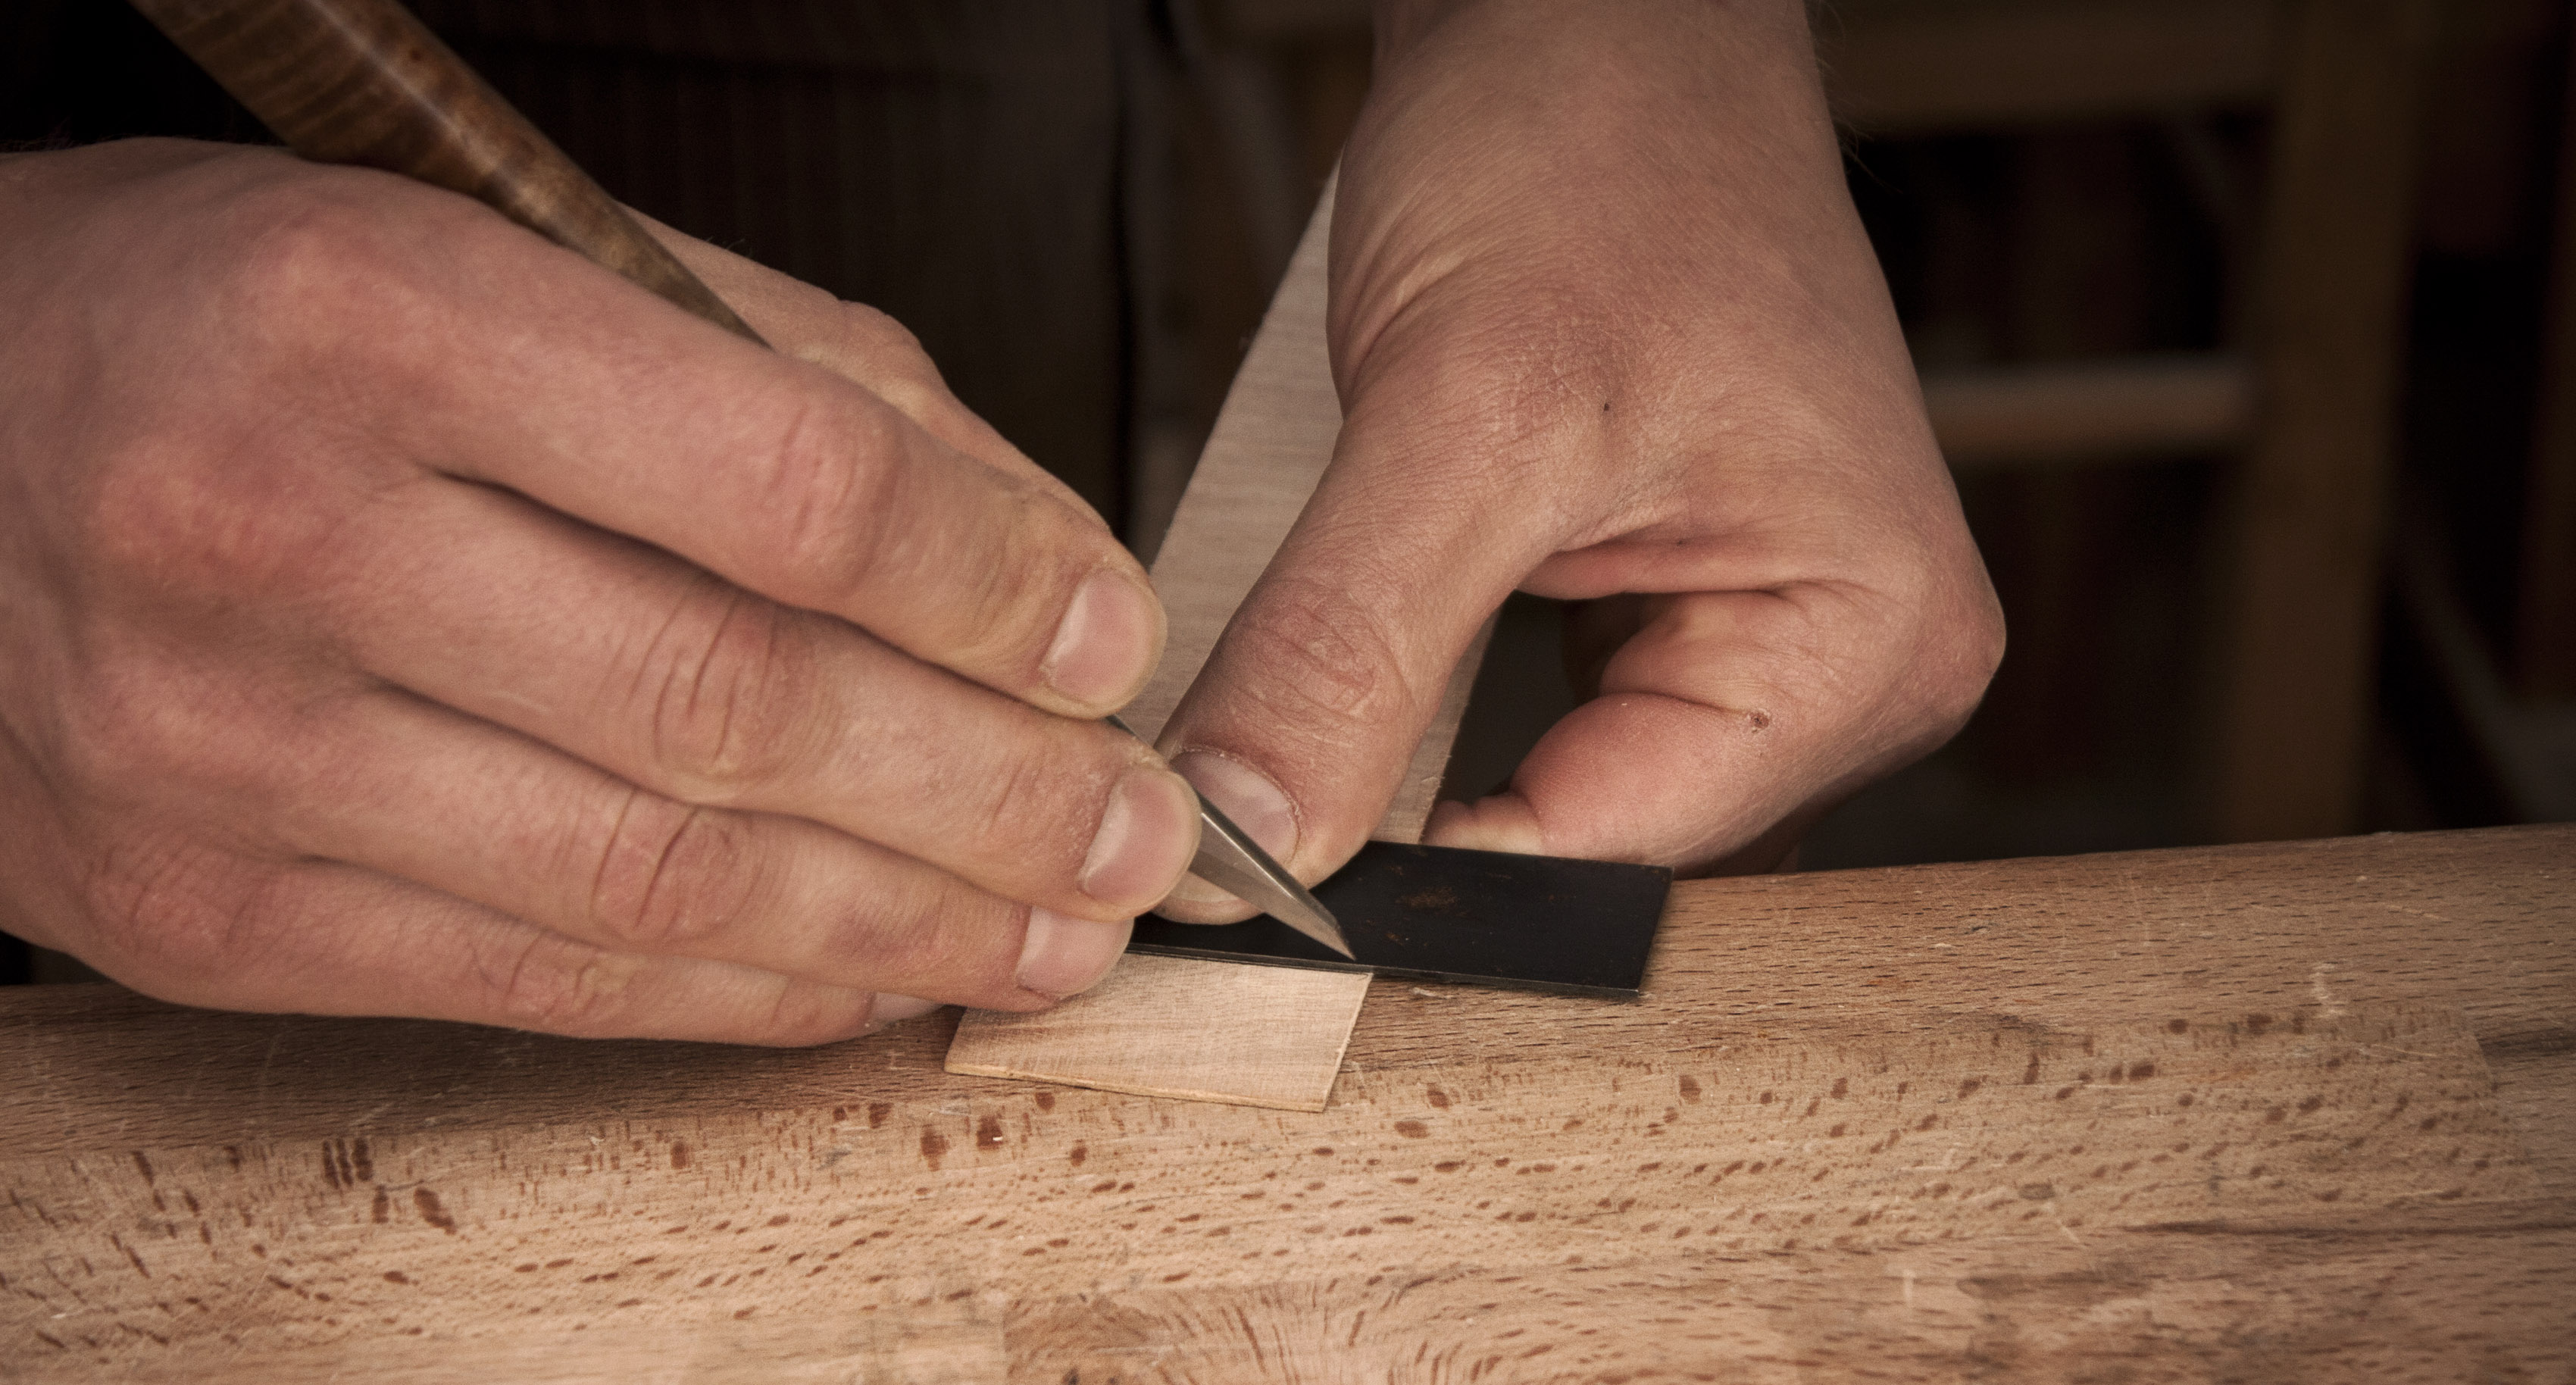
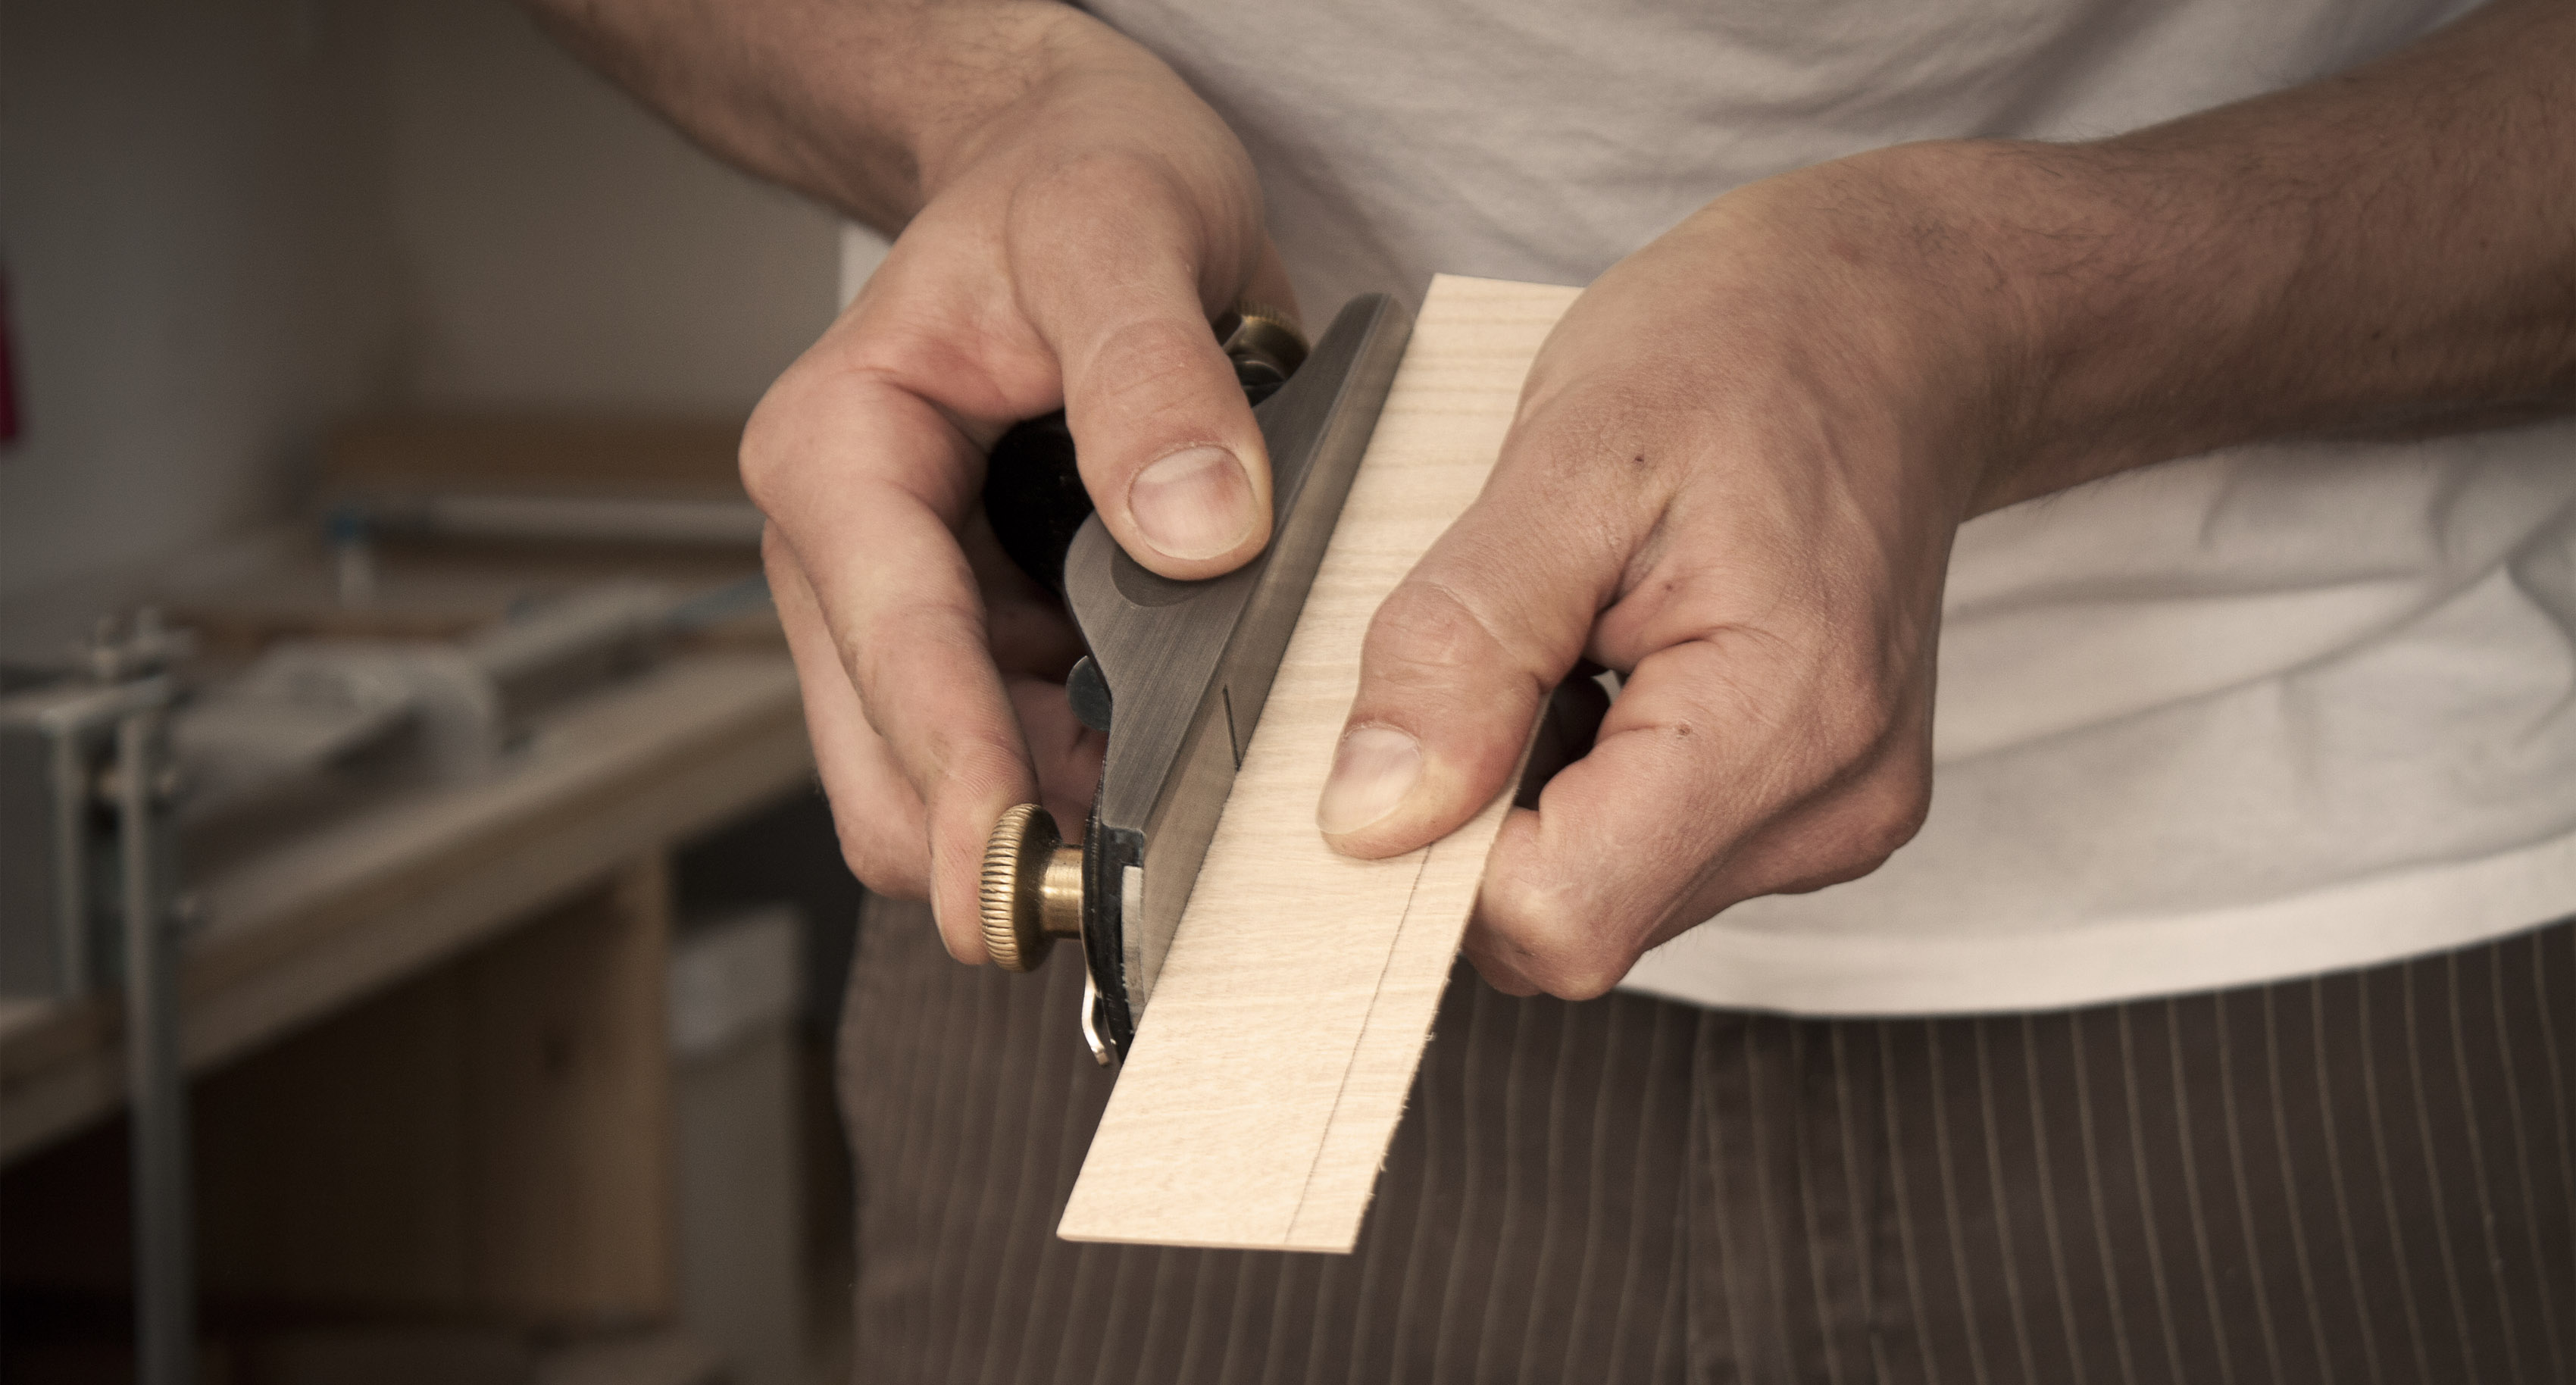
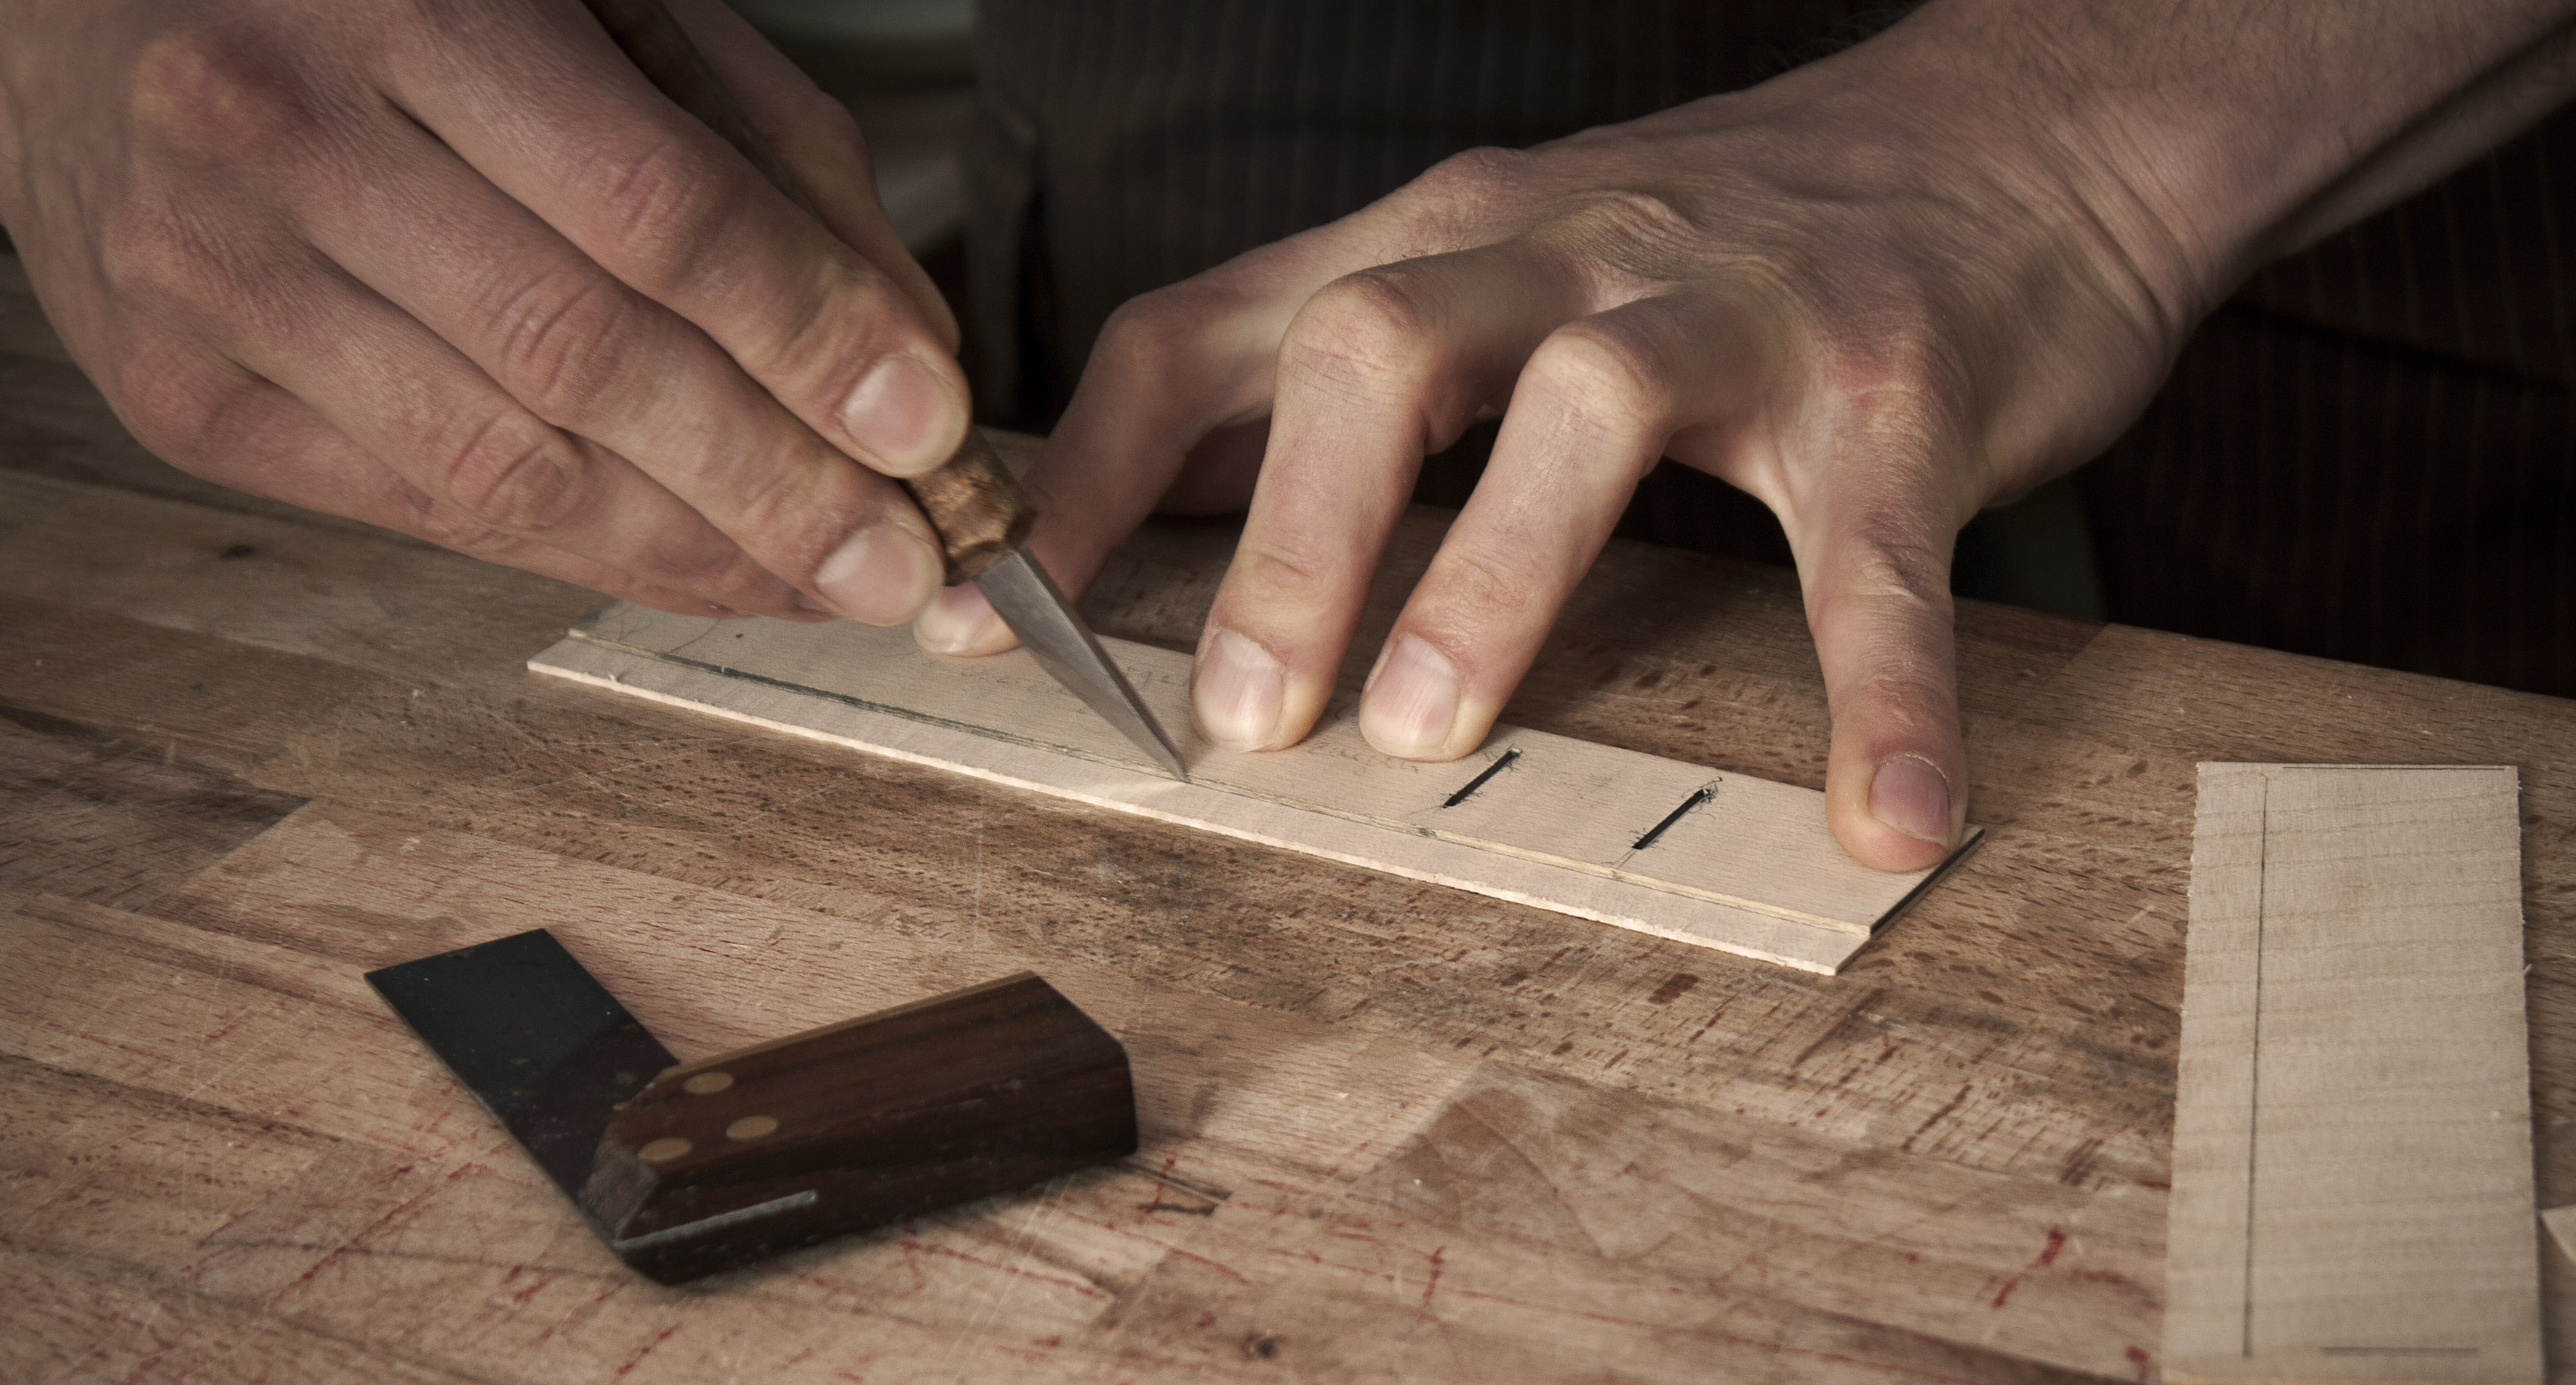
 Cutting the ribs to size
 Flat planing the ribs
 Cutting the ribs to the required width
The 1.2 mm ribs are cut precisely to the size required. After that, they are bent, fitted, and then glued to the top and bottom blocks and to the corner blocks and linings.
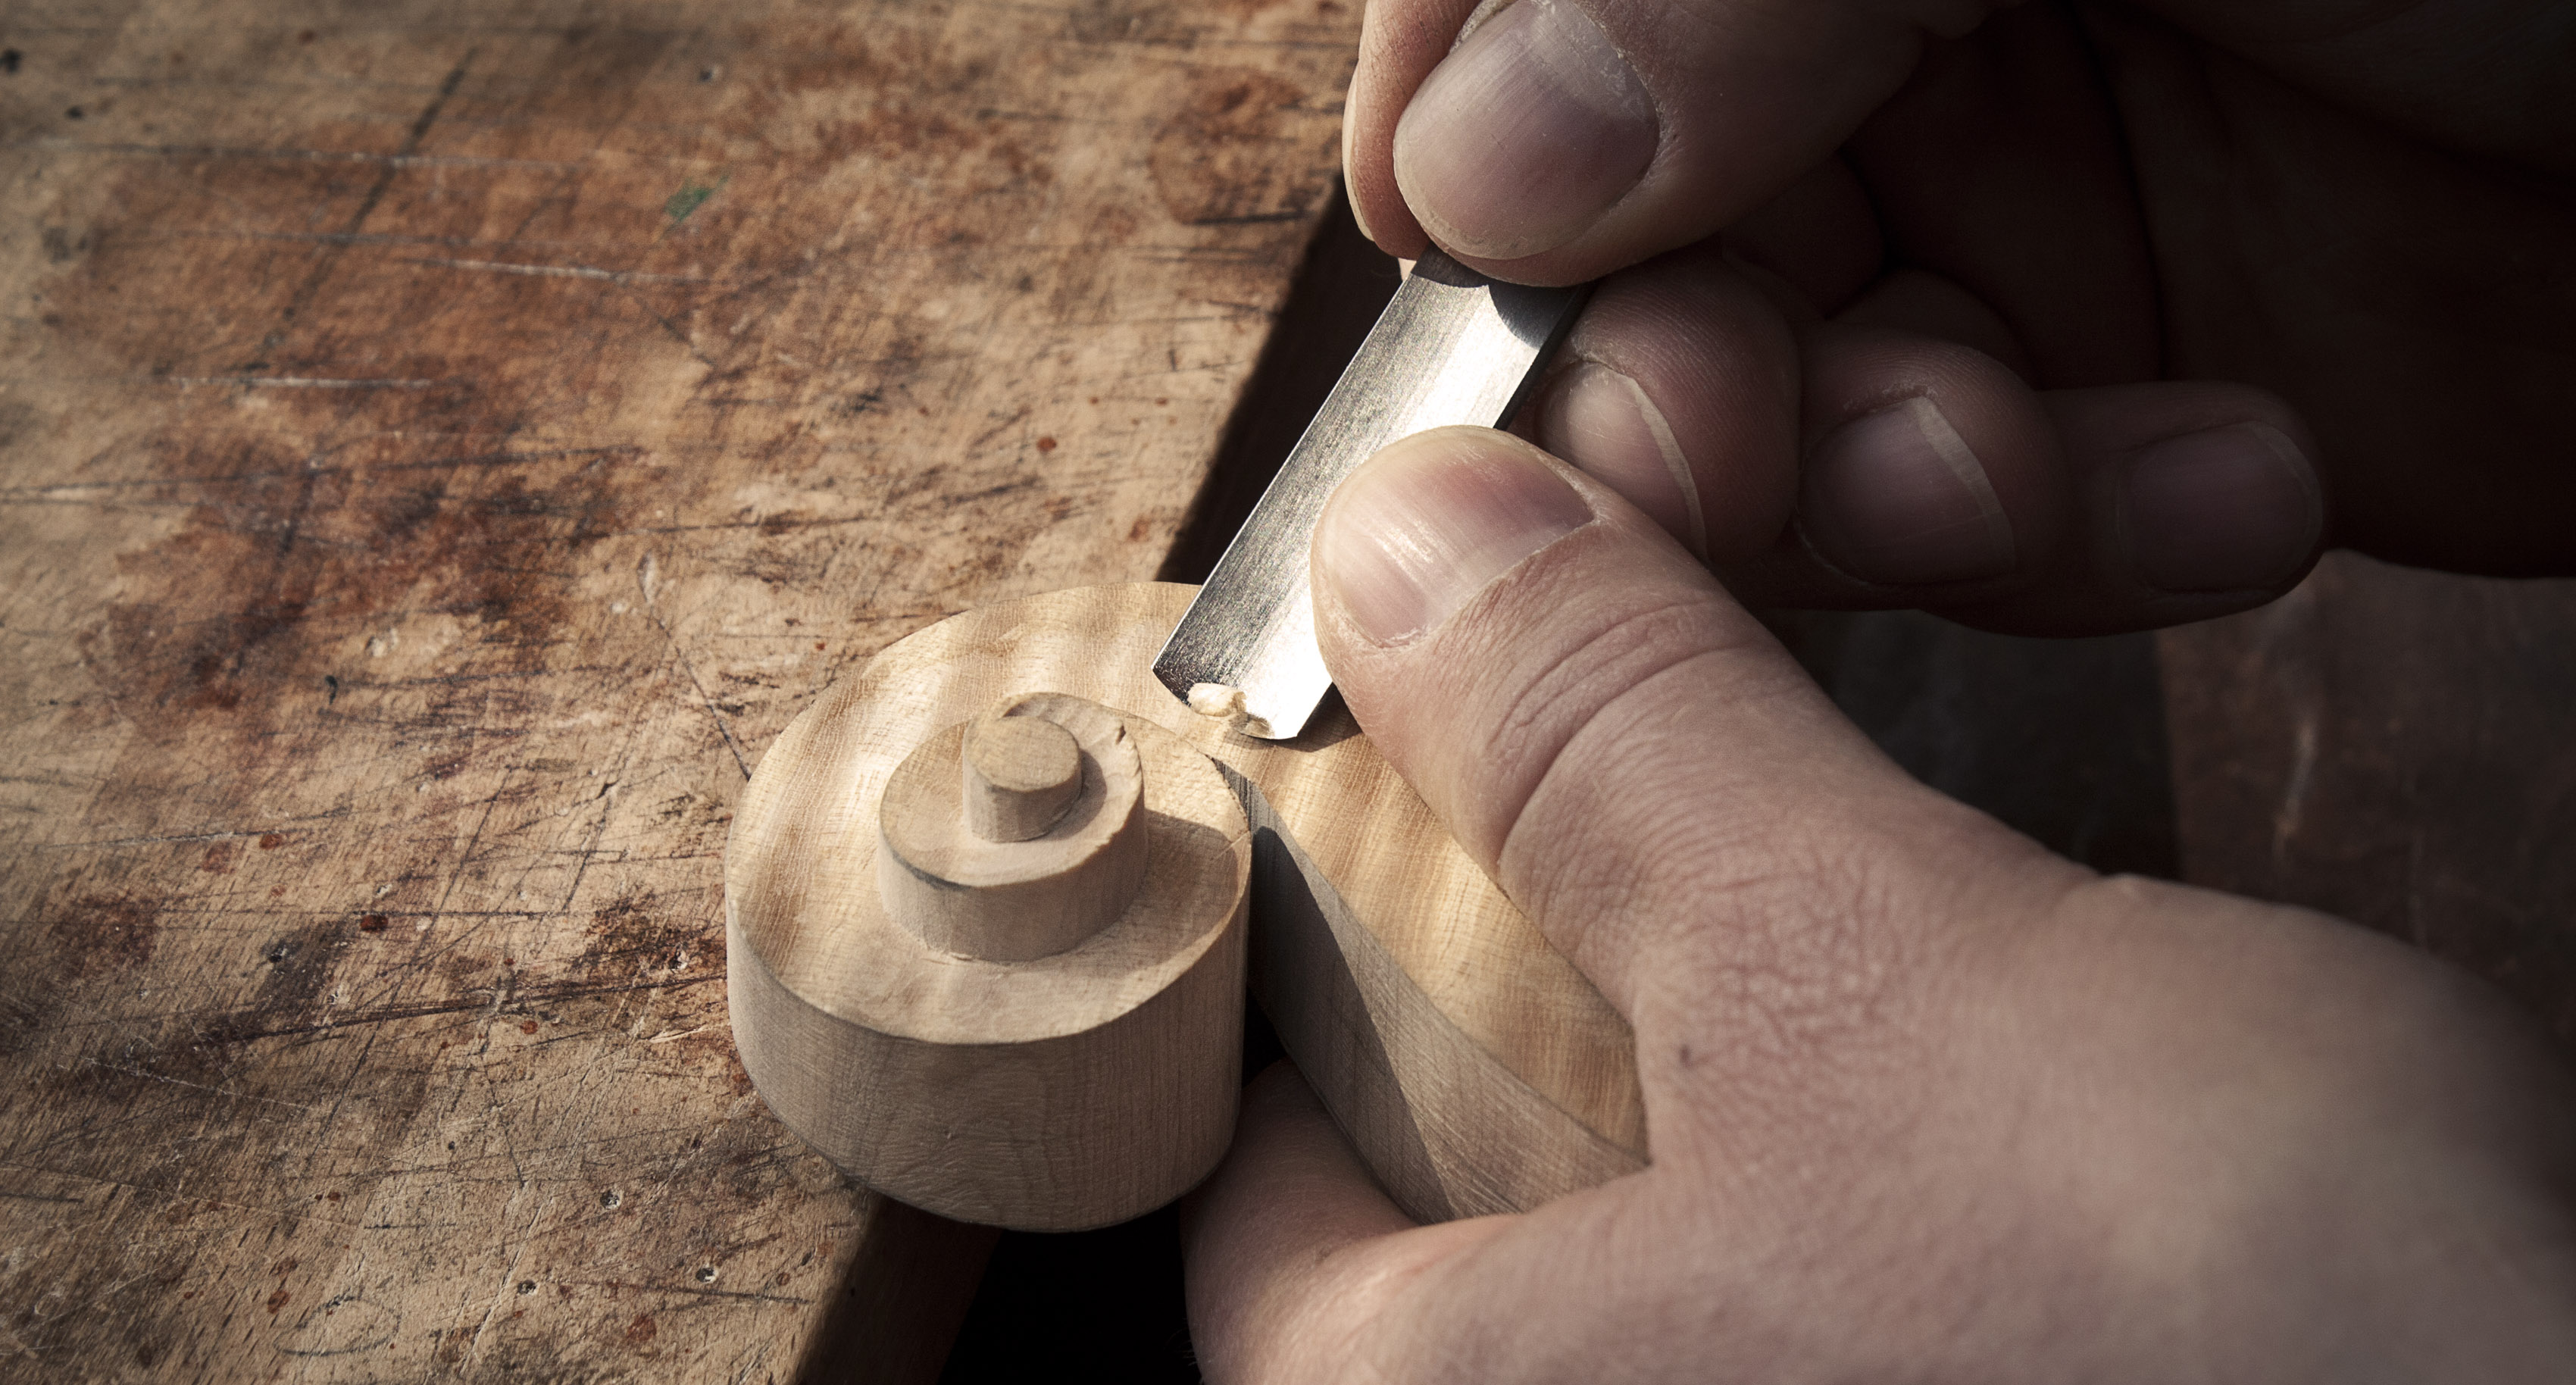
carving the neck
Carving the scroll
 Carving the scroll volute
 Carving the scroll volute
14 different neck chisels are used to carve the turns of the scroll
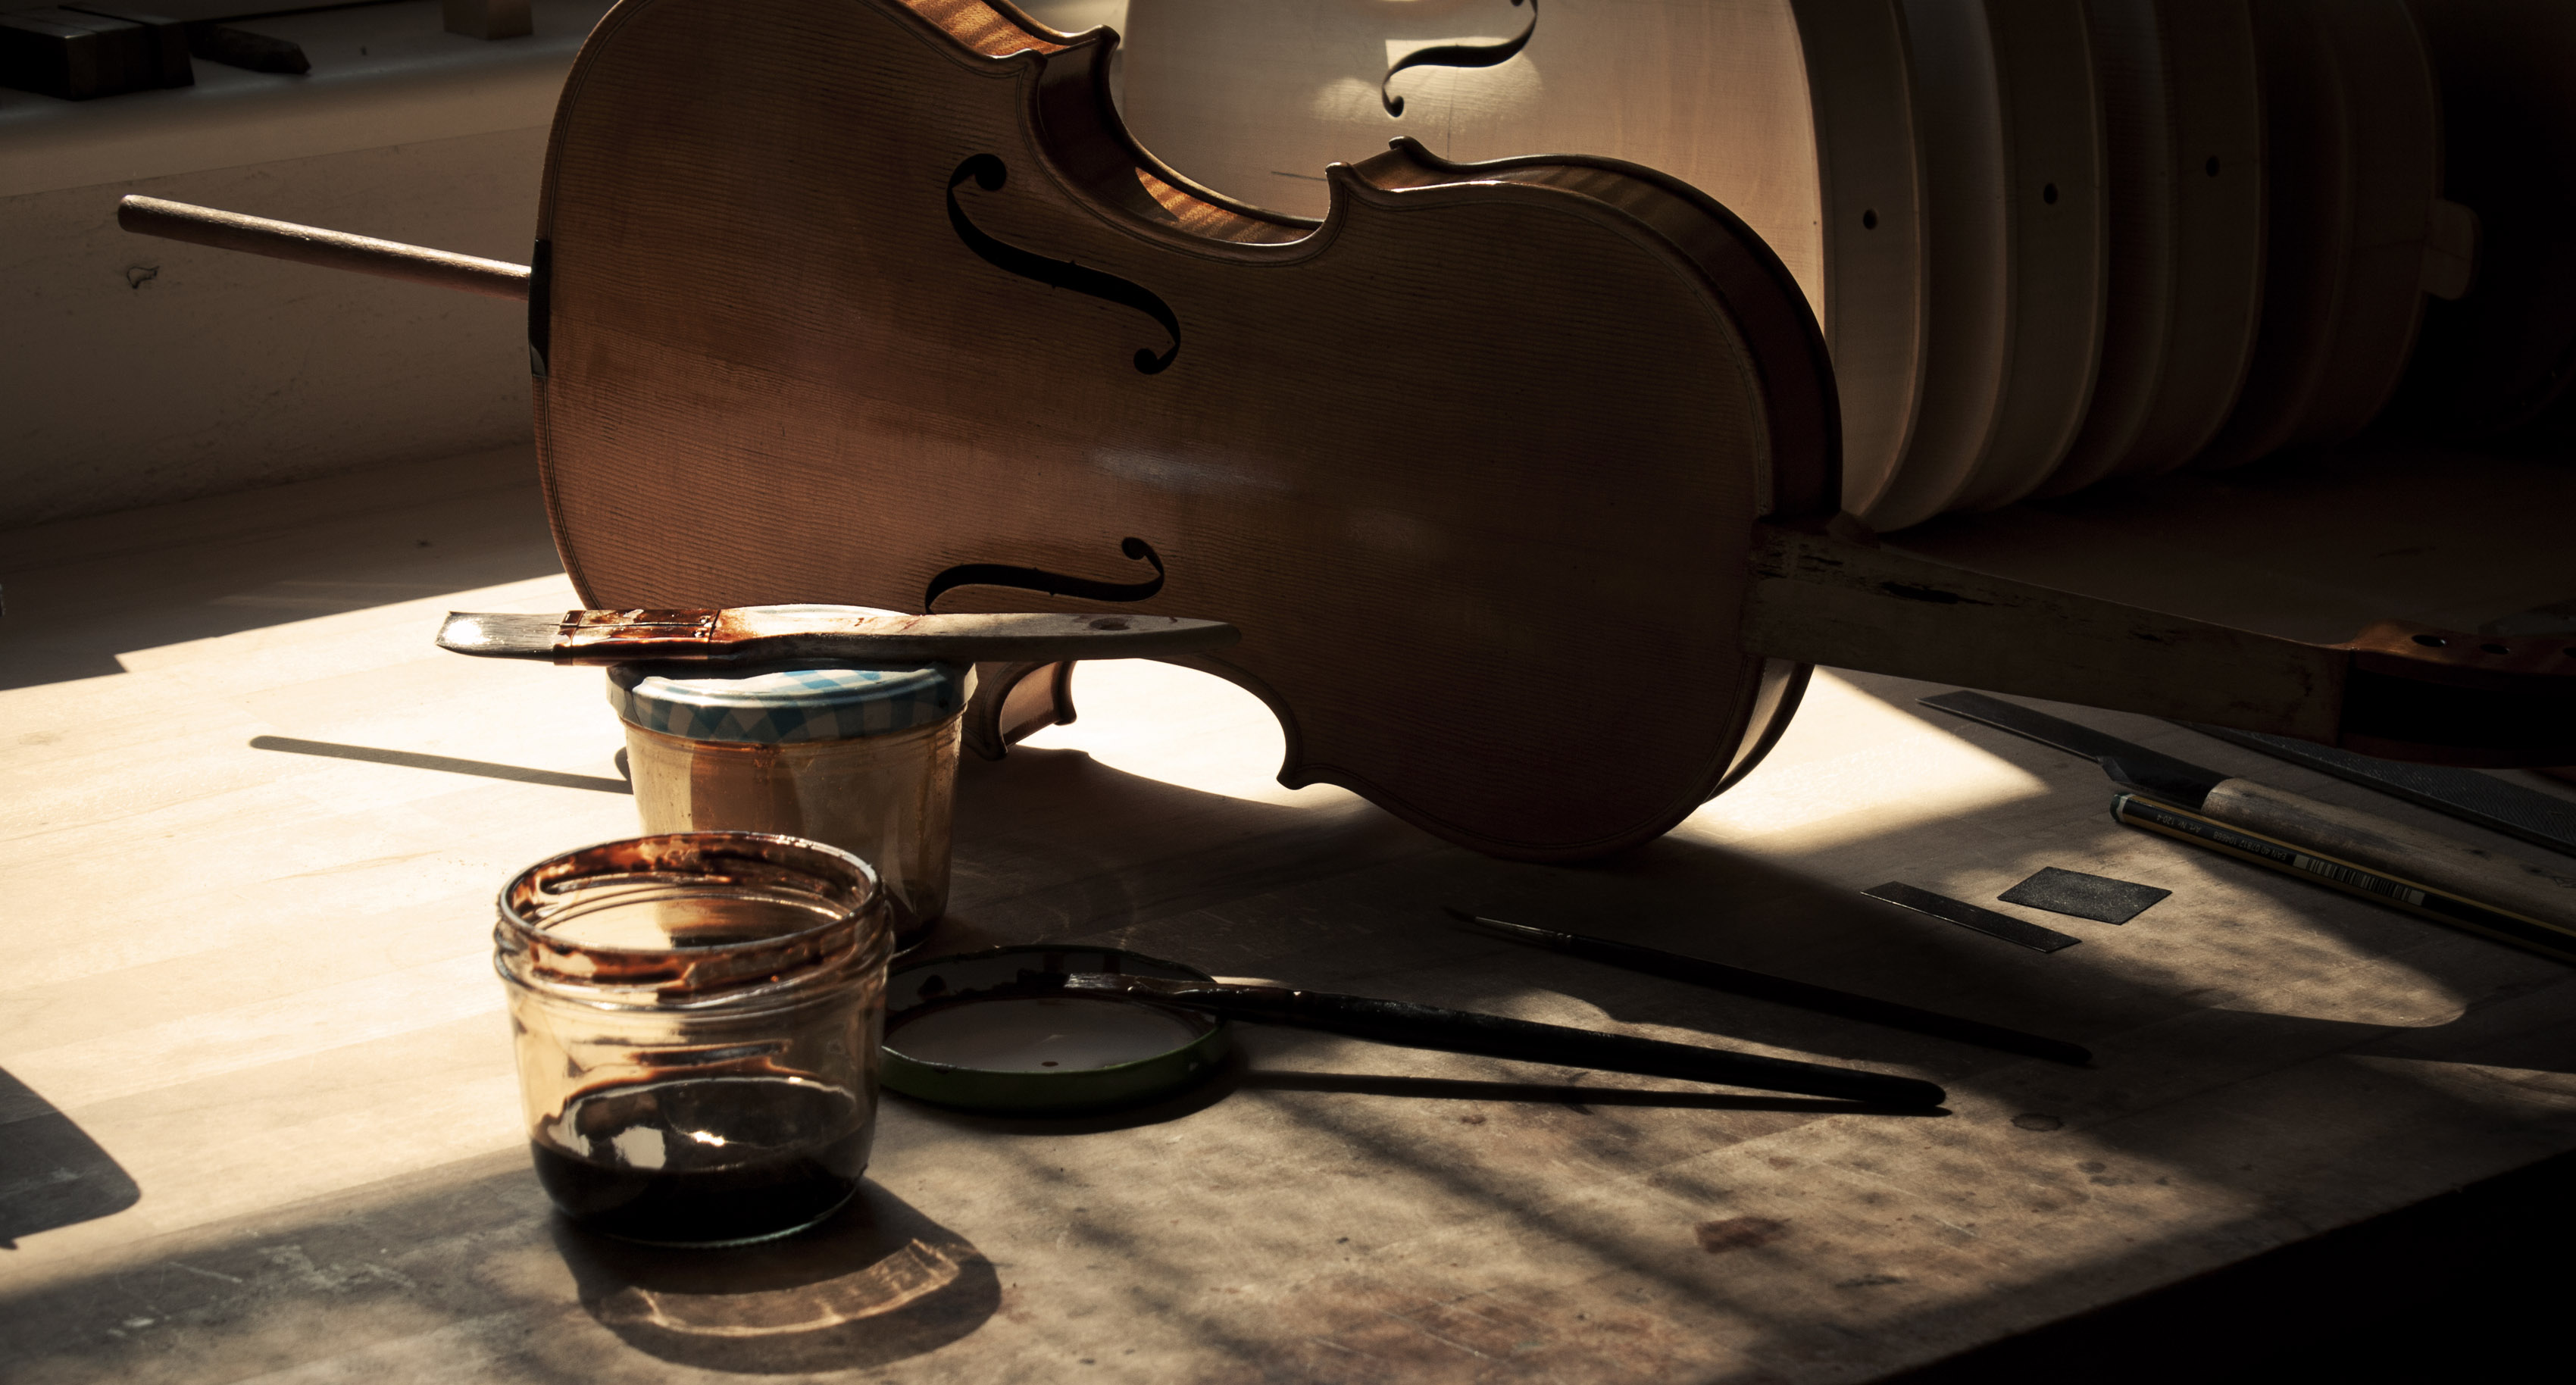
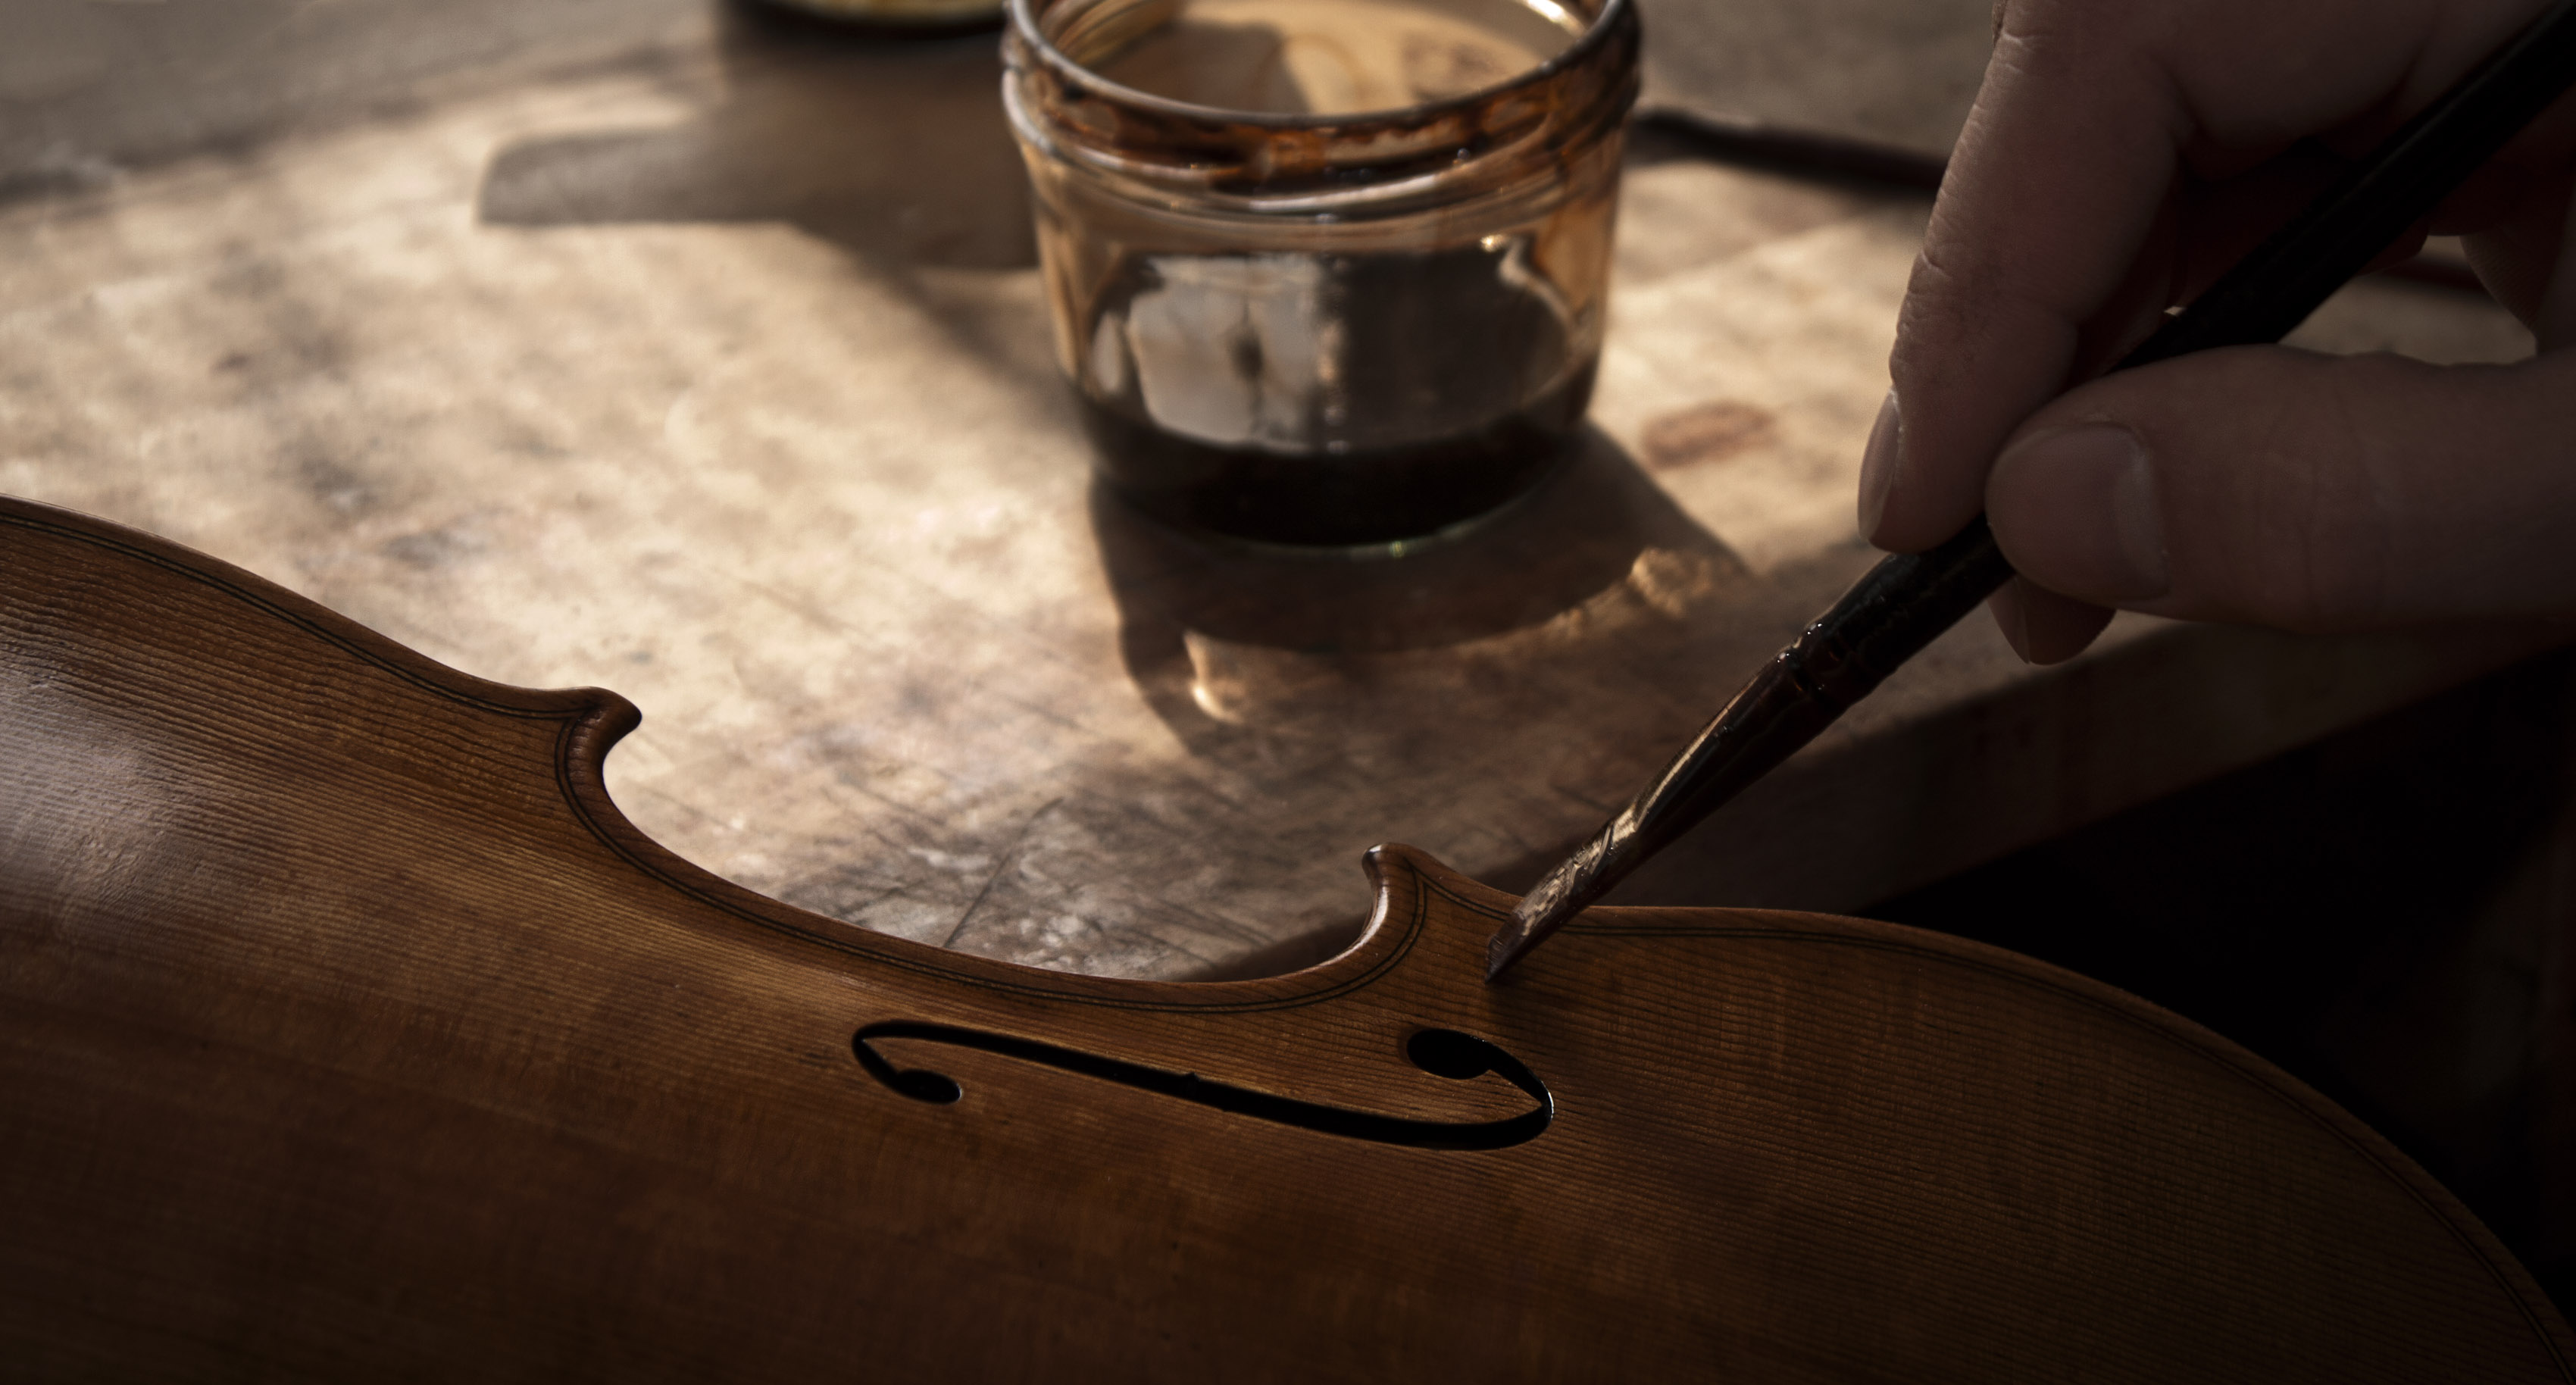
varnishing
Layer upon layer for more protection, color and shine
 Varnishing
 Varnishing
Once the instrument has been built, varnishing can begin. The varnish is applied sparingly, layer upon layer, with a brush. It protects the wood, lends it color and shine and provides the finishing touches to a beautiful instrument. It also influences the sound of the instrument.
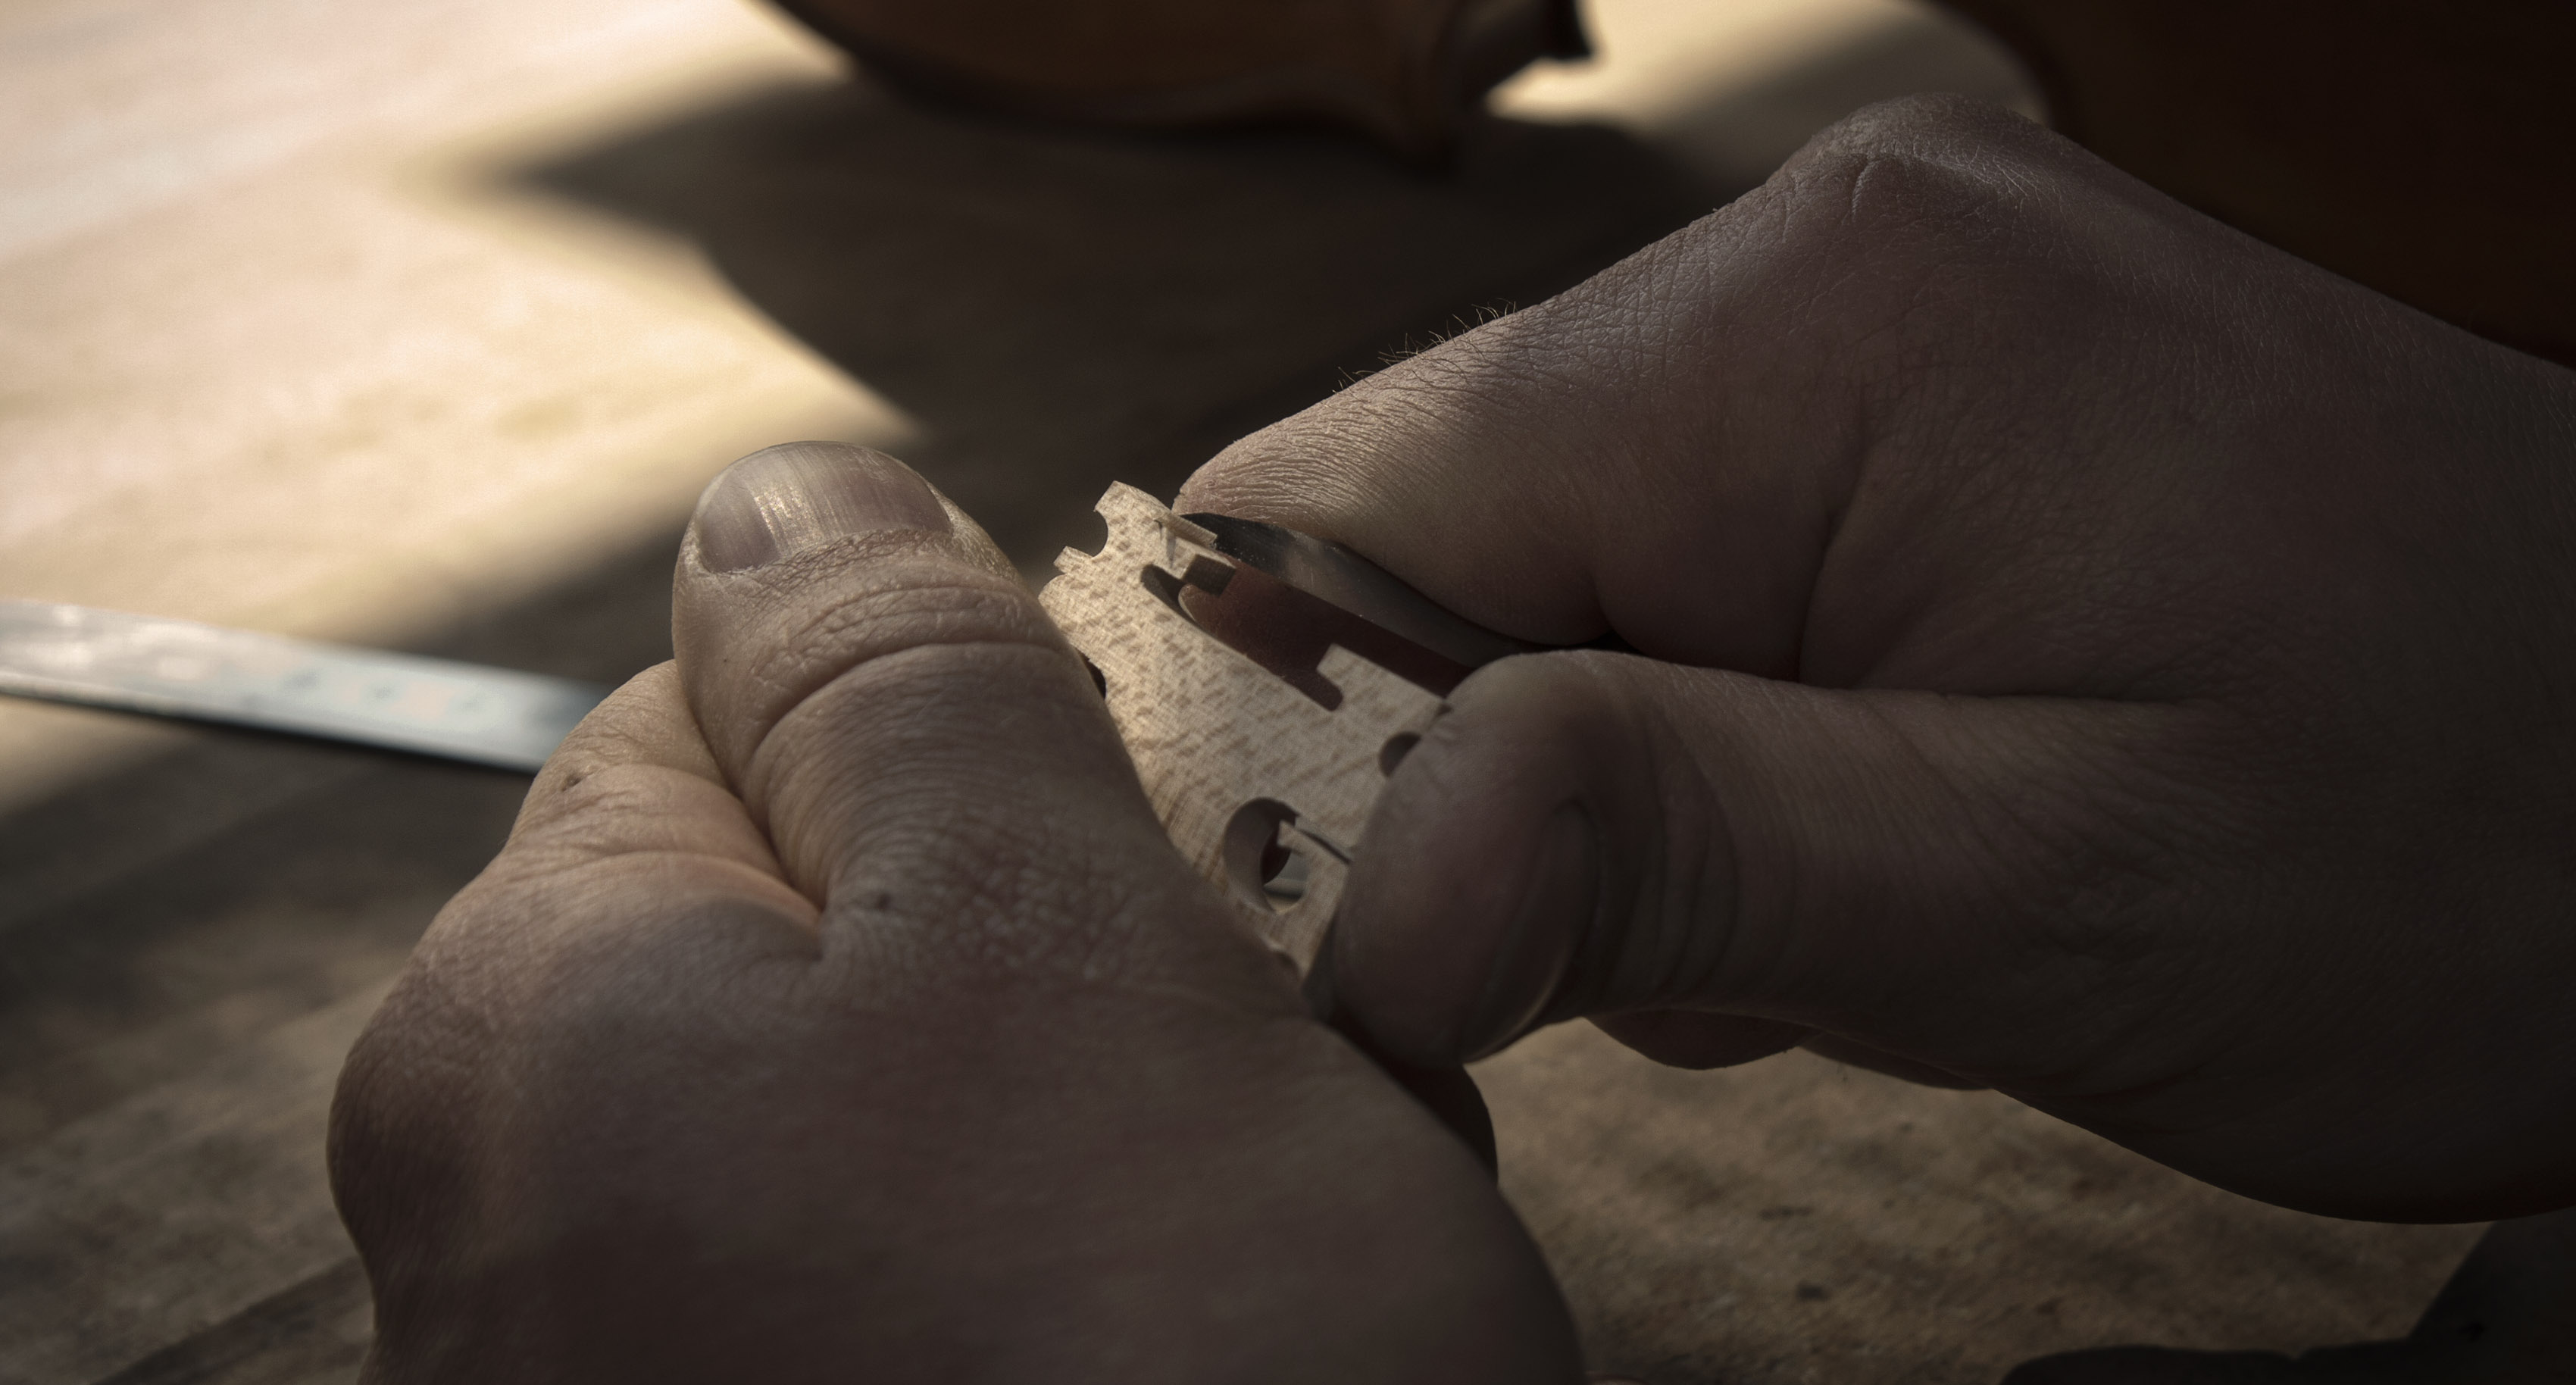
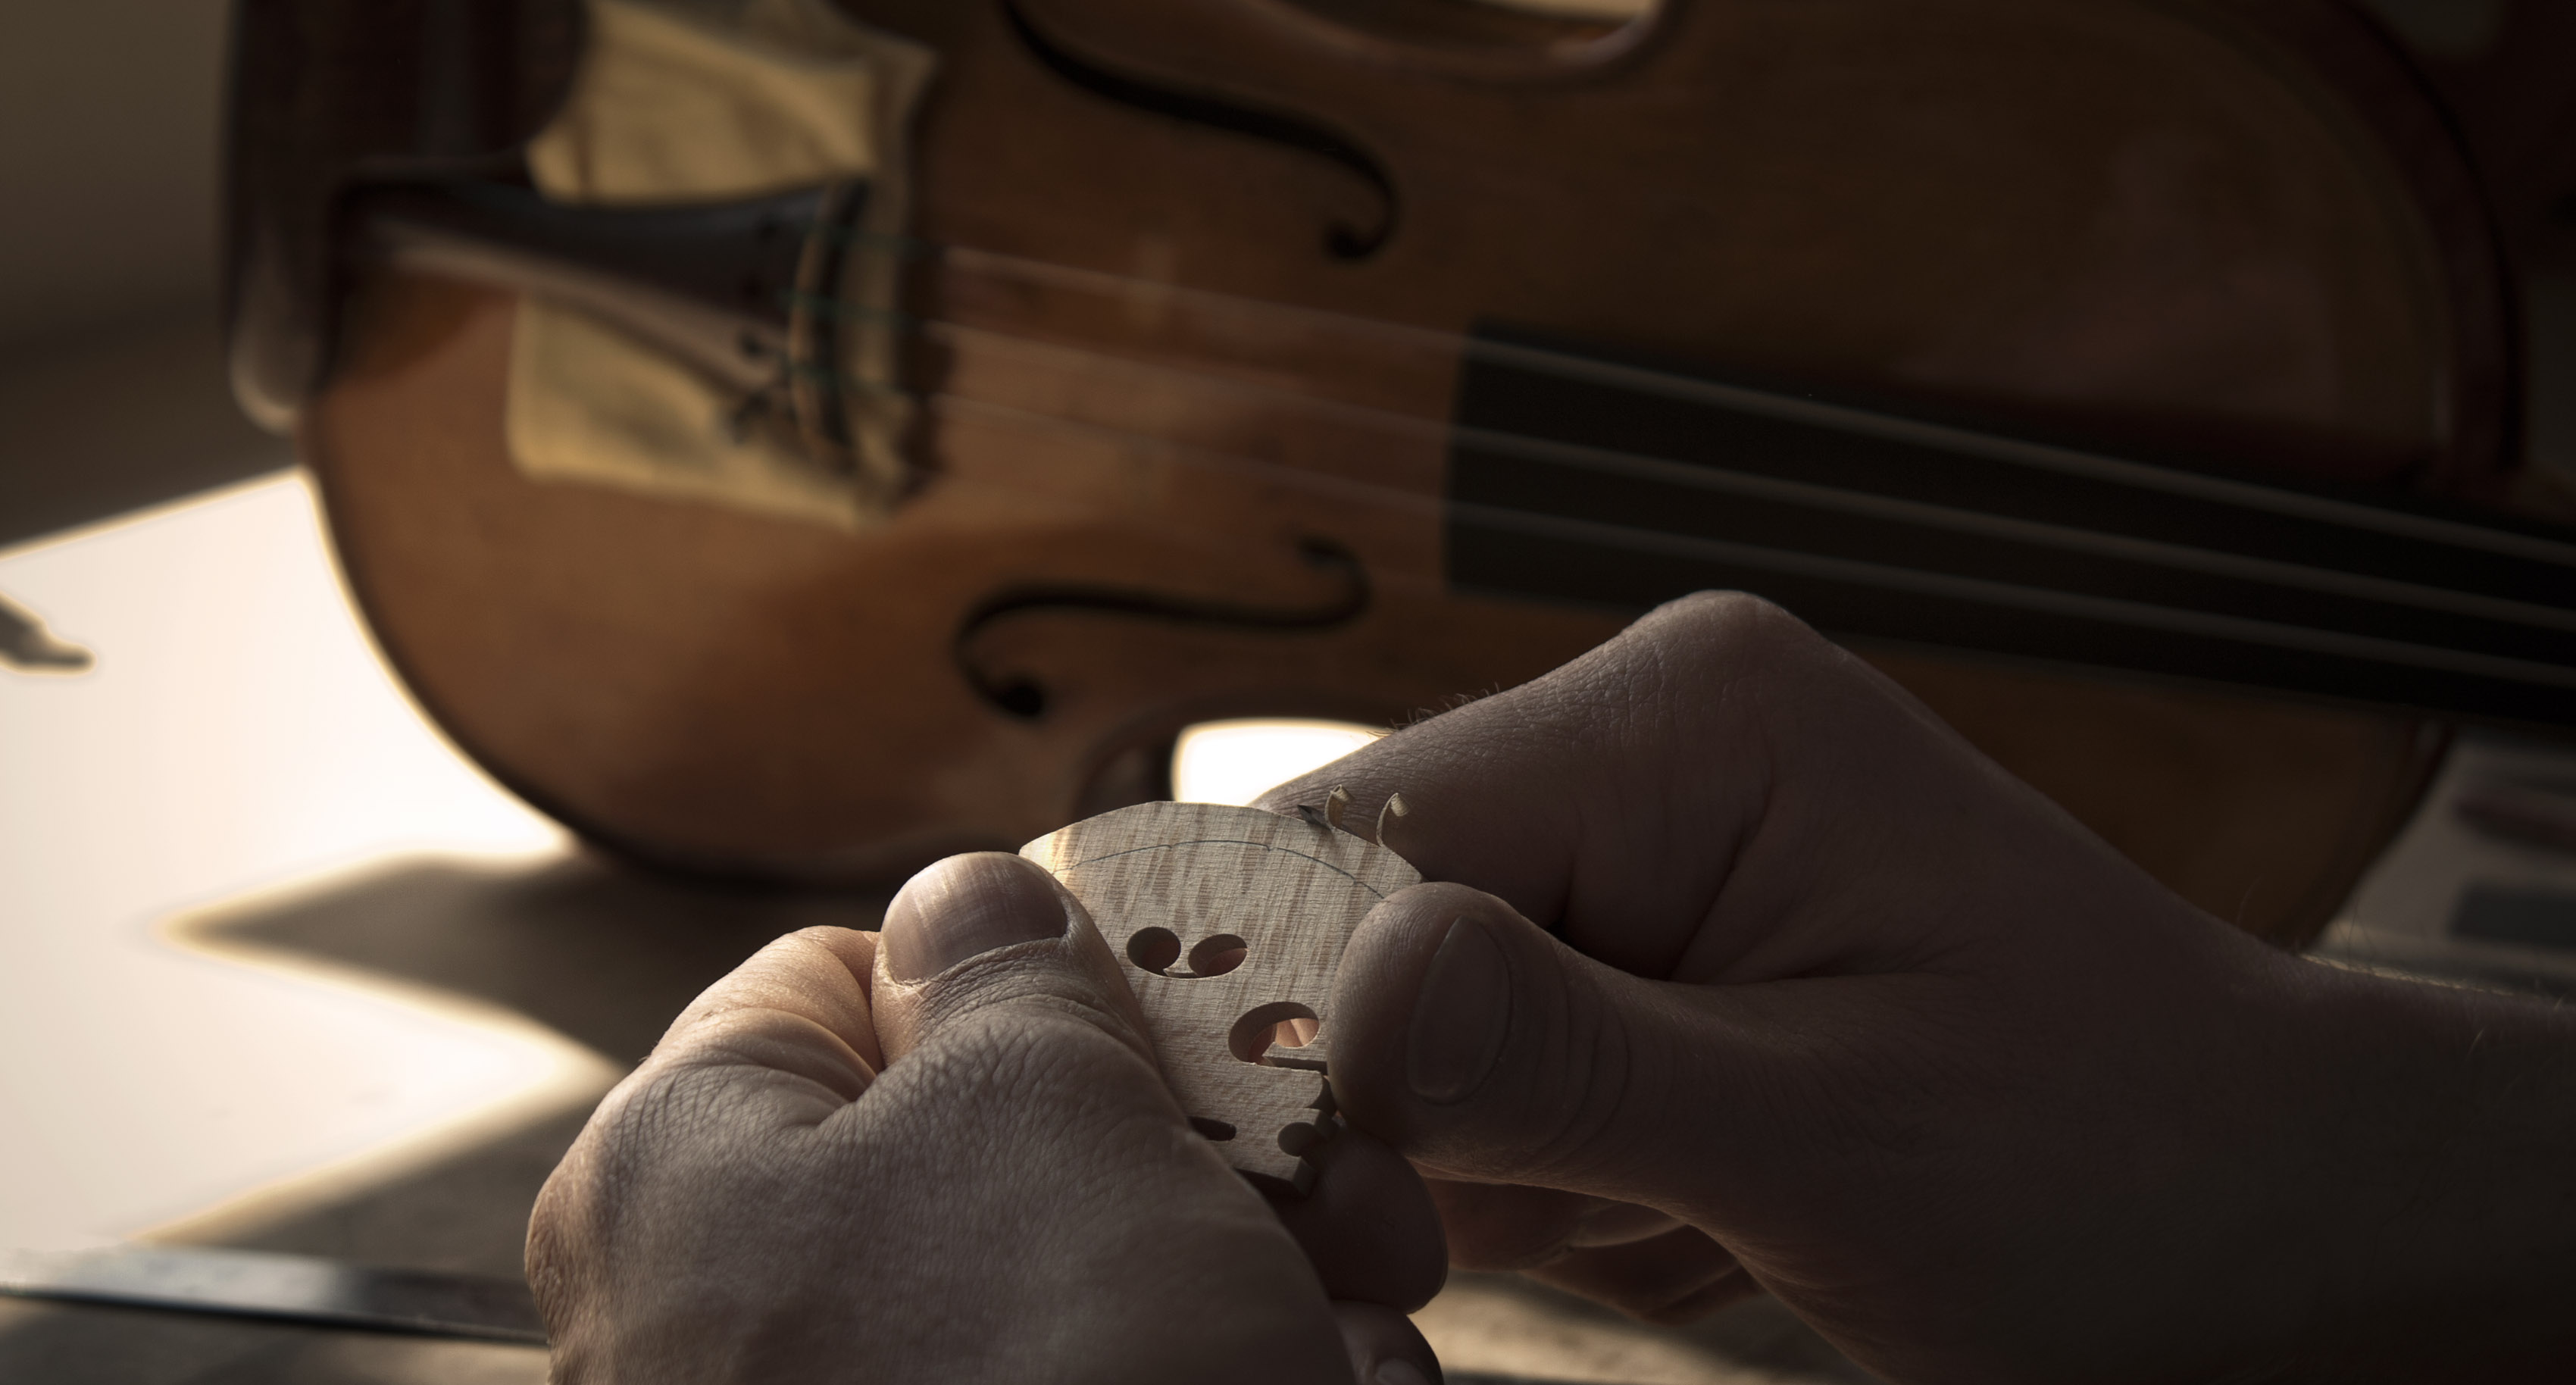
making the instrument
ready to play
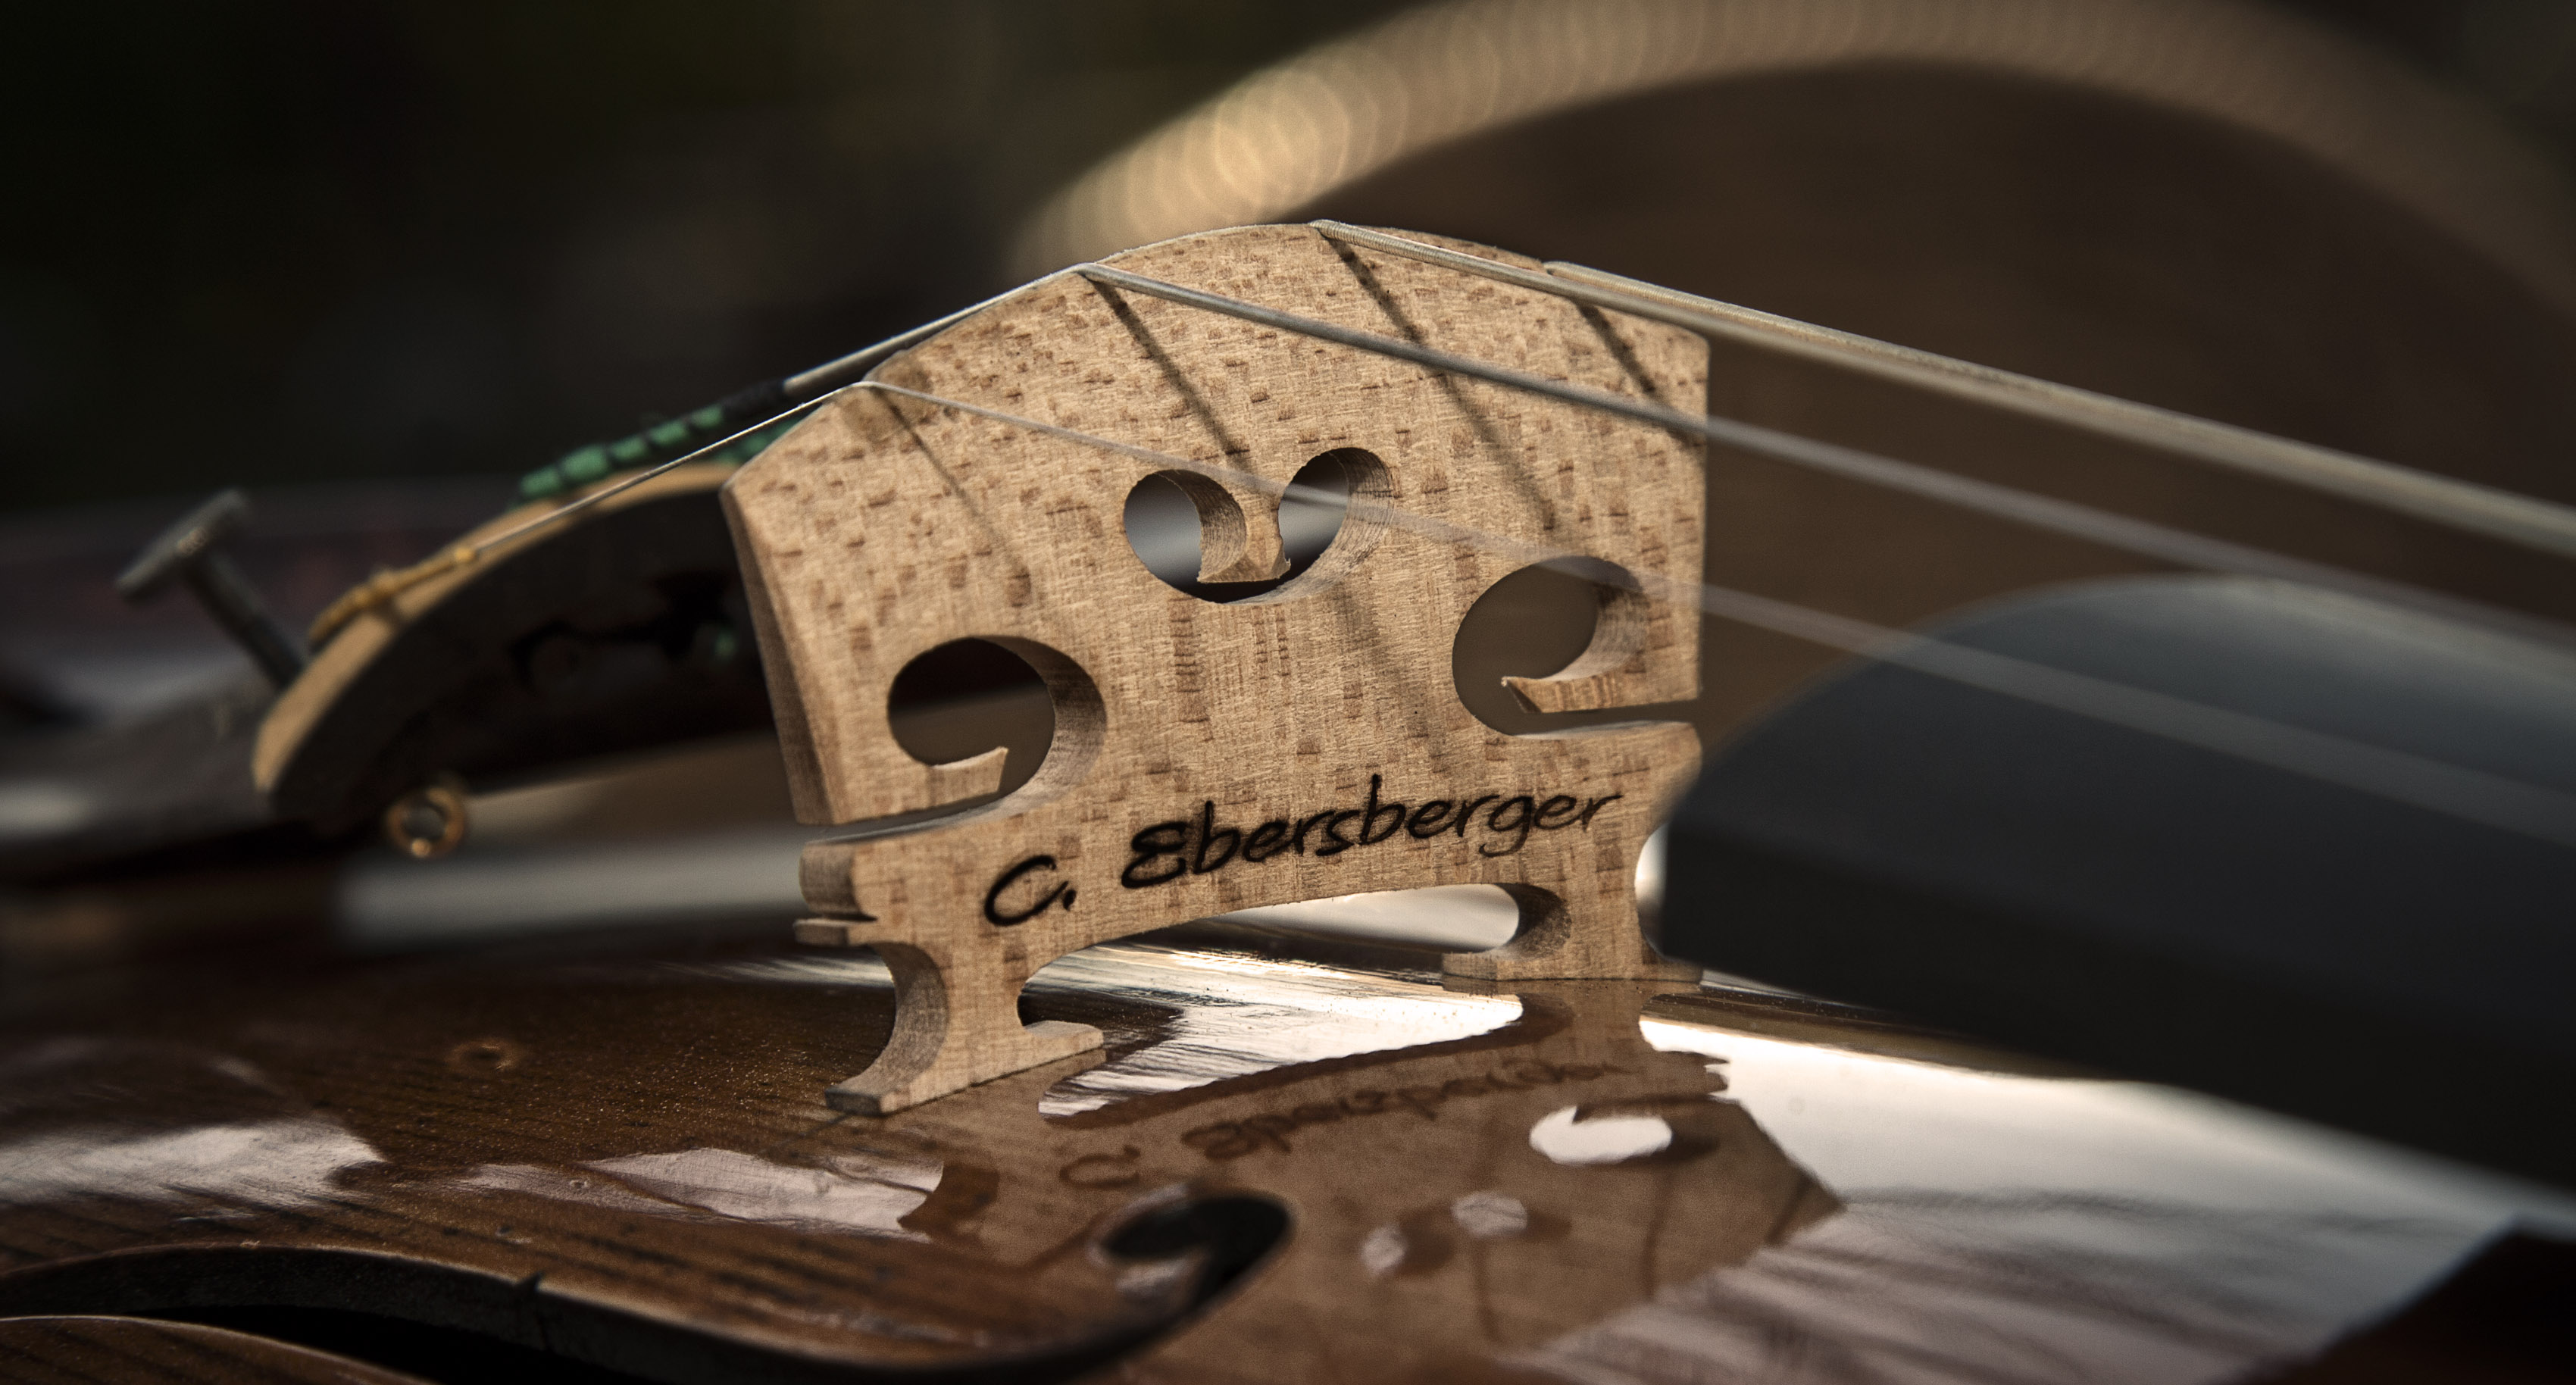
Cutting out the bridge
 Cutting out the bridge feet to fit precisely
 Precisely shaping the bridge curvature
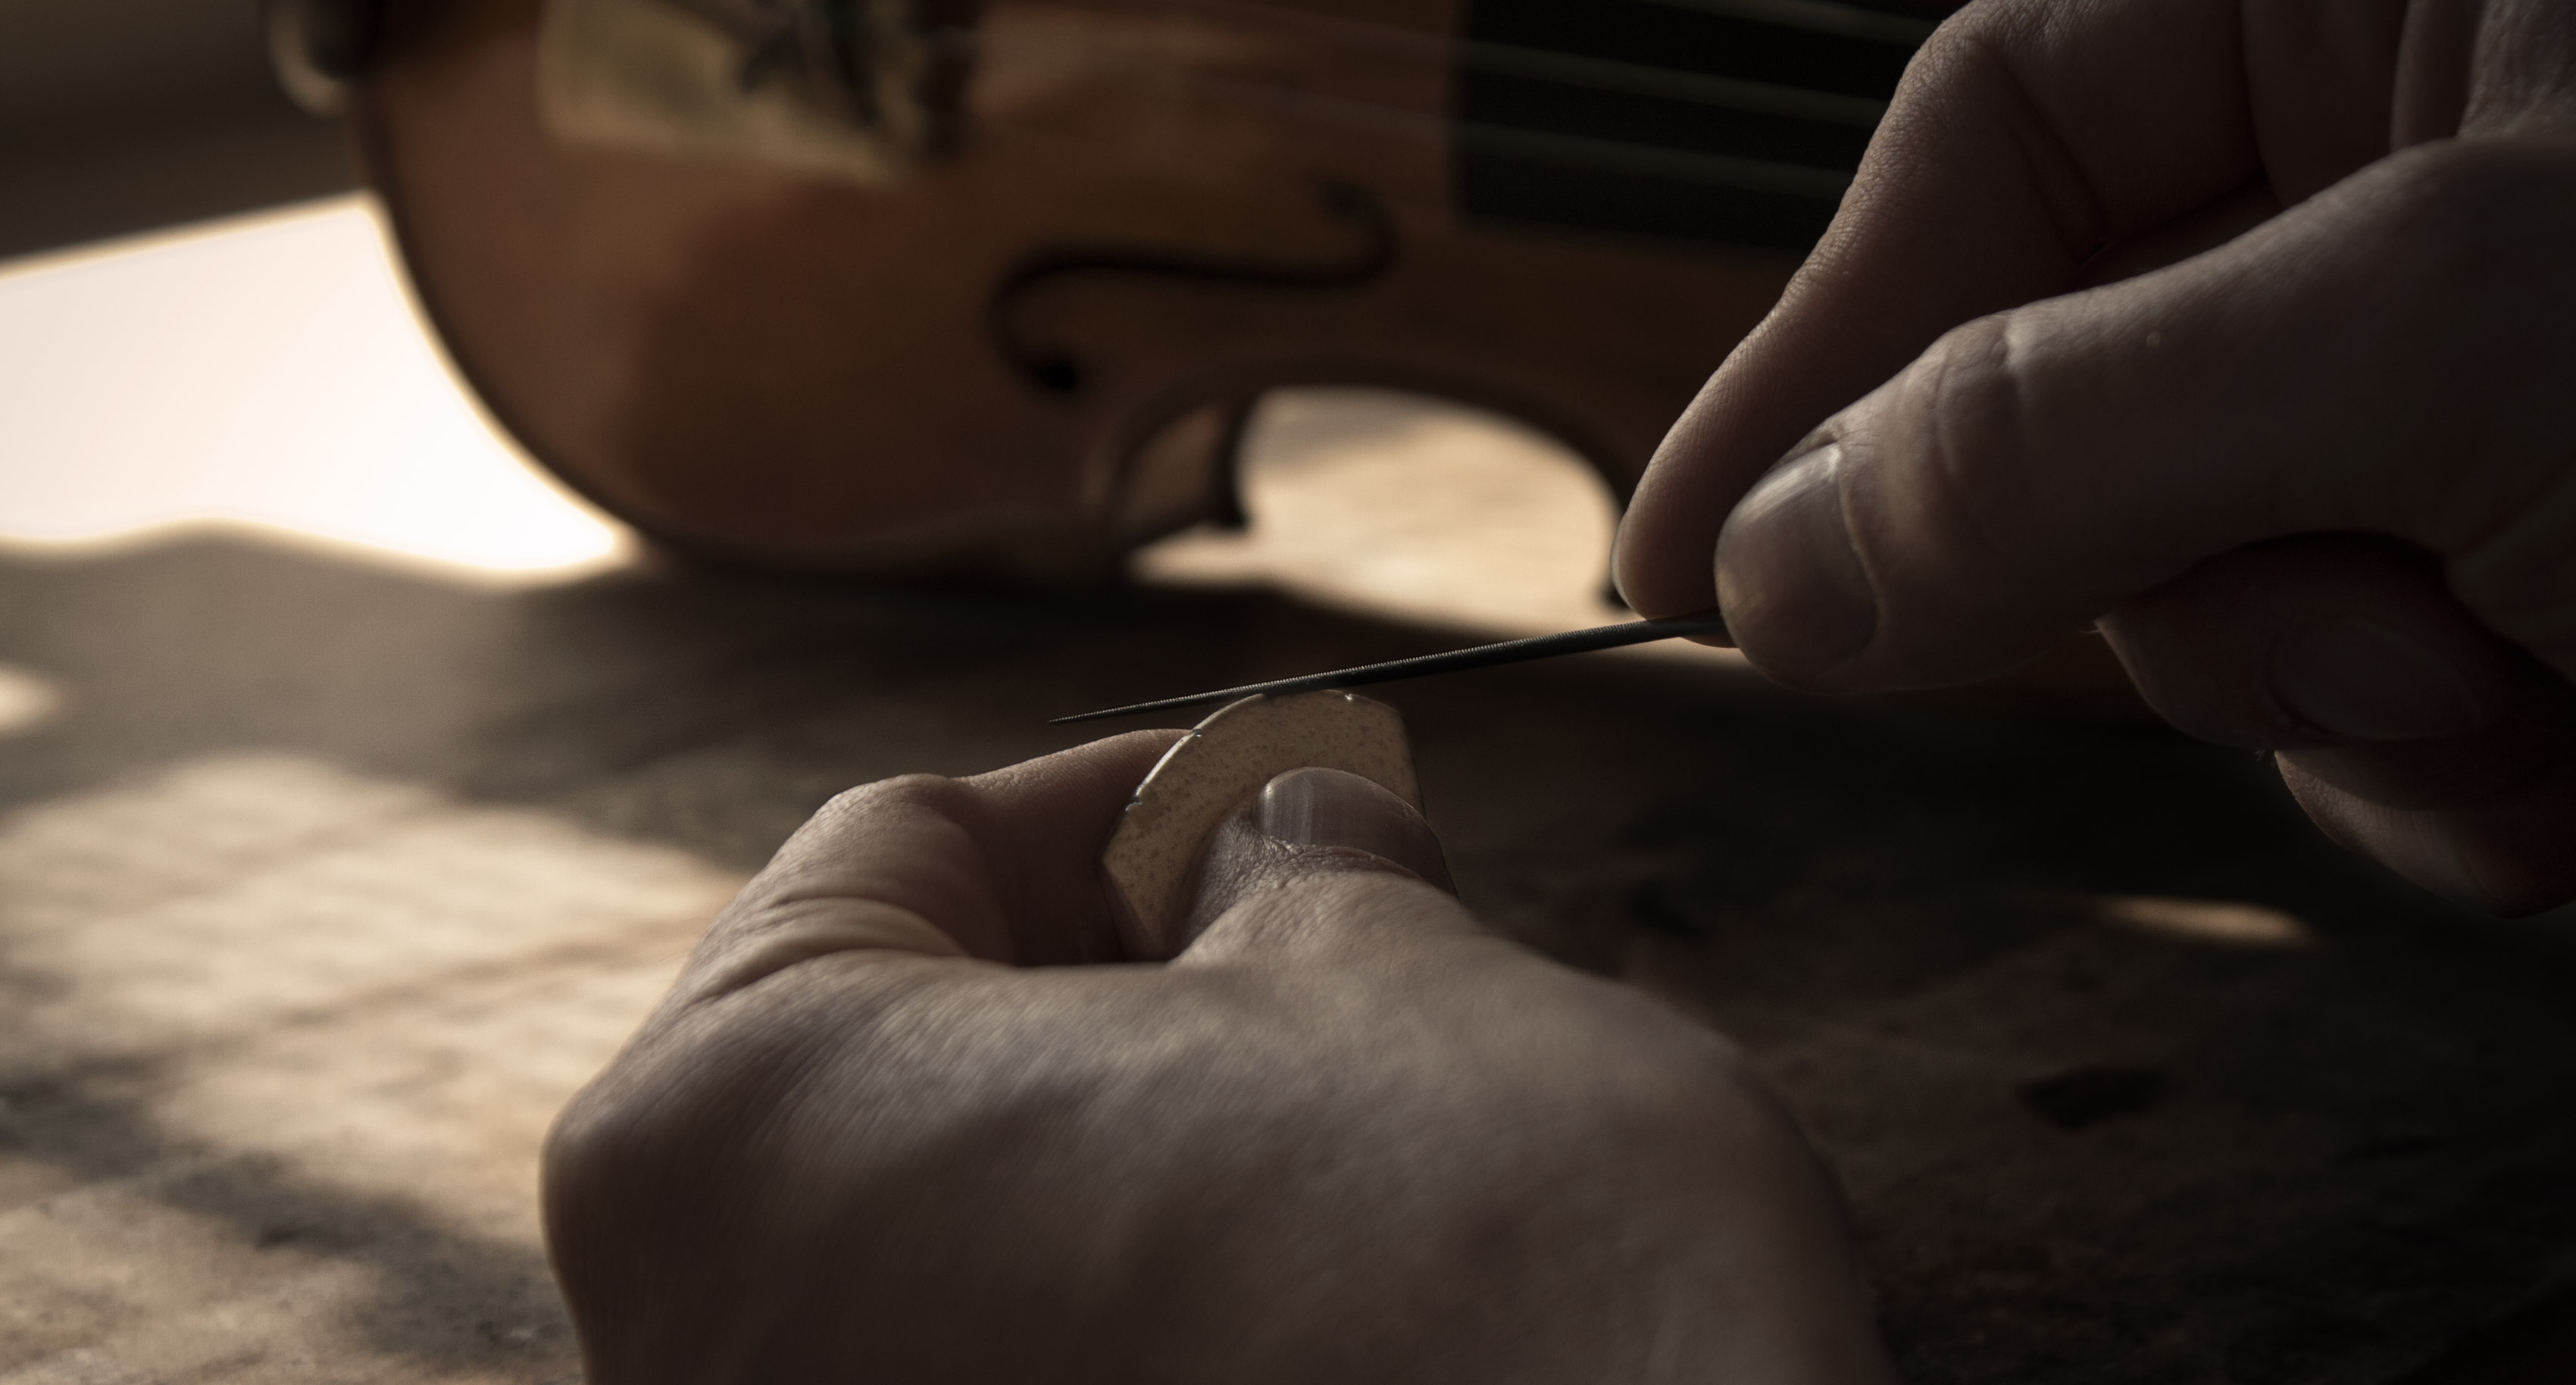
 Notching the bridge
 Completed bridge
Finally, the instrument is made ready for use. This means cutting the bridge precisely to the shape of the soundboard. Only in this way is the full vibration transmitted to the resonance box.